01
Wiring Diagram
Connect the live (L) and neutral (N) wires to the switch, then connect each light to its own output.
- L: Live
- N: Neutral
- OUT1: Light 1
- OUT2: Light 2
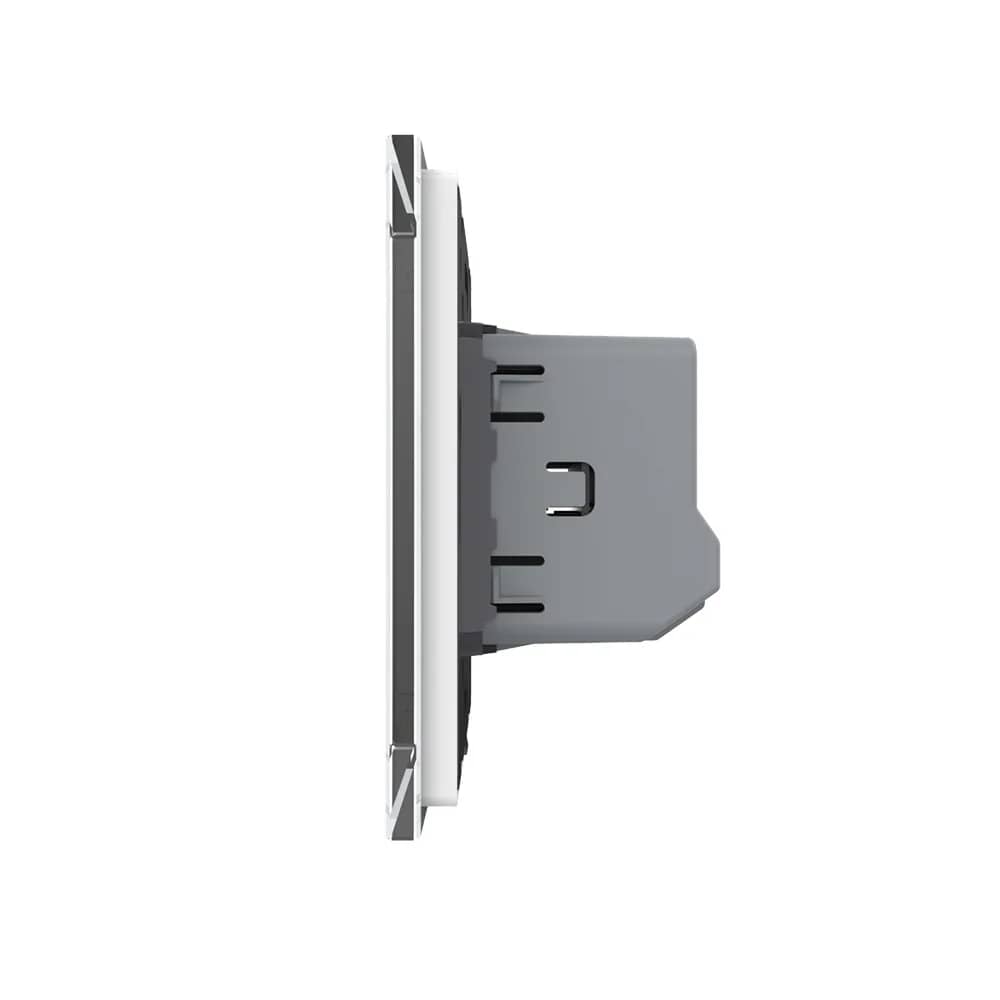
SKU: VL-FC2NY-2G-3W
In stock
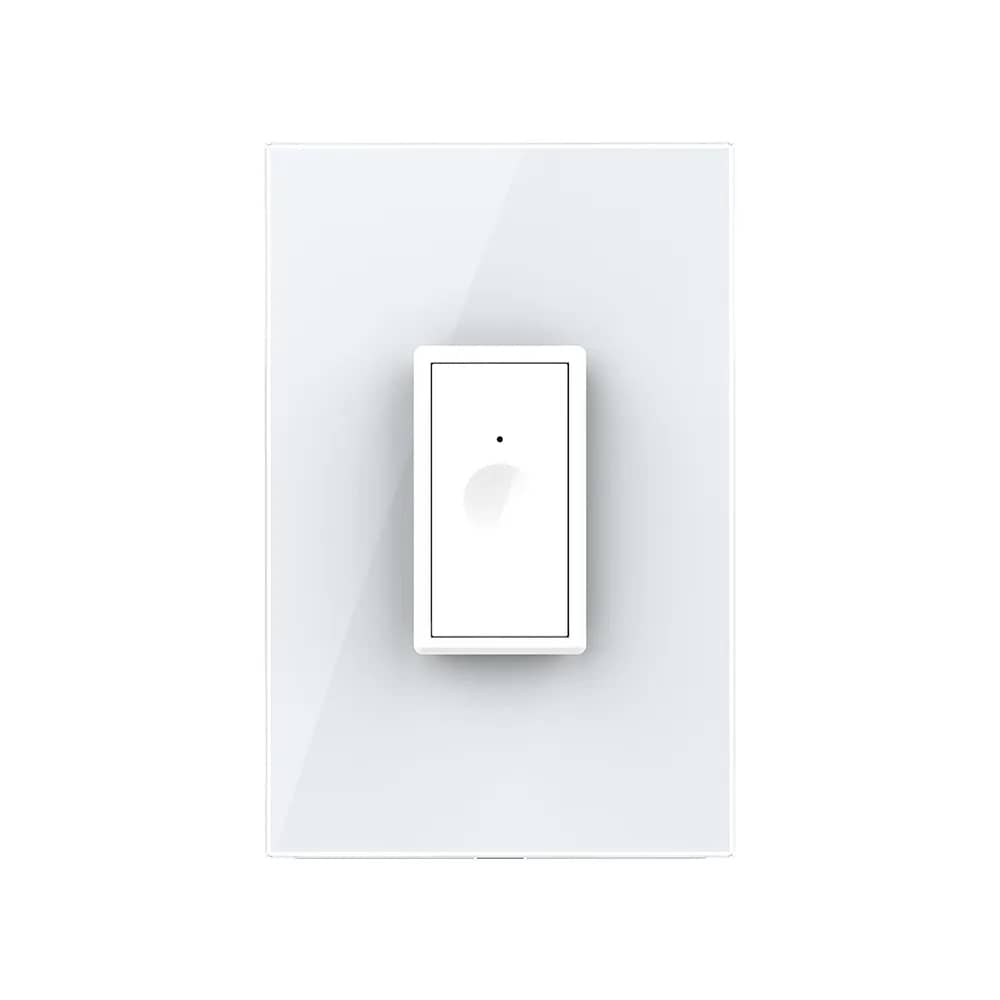
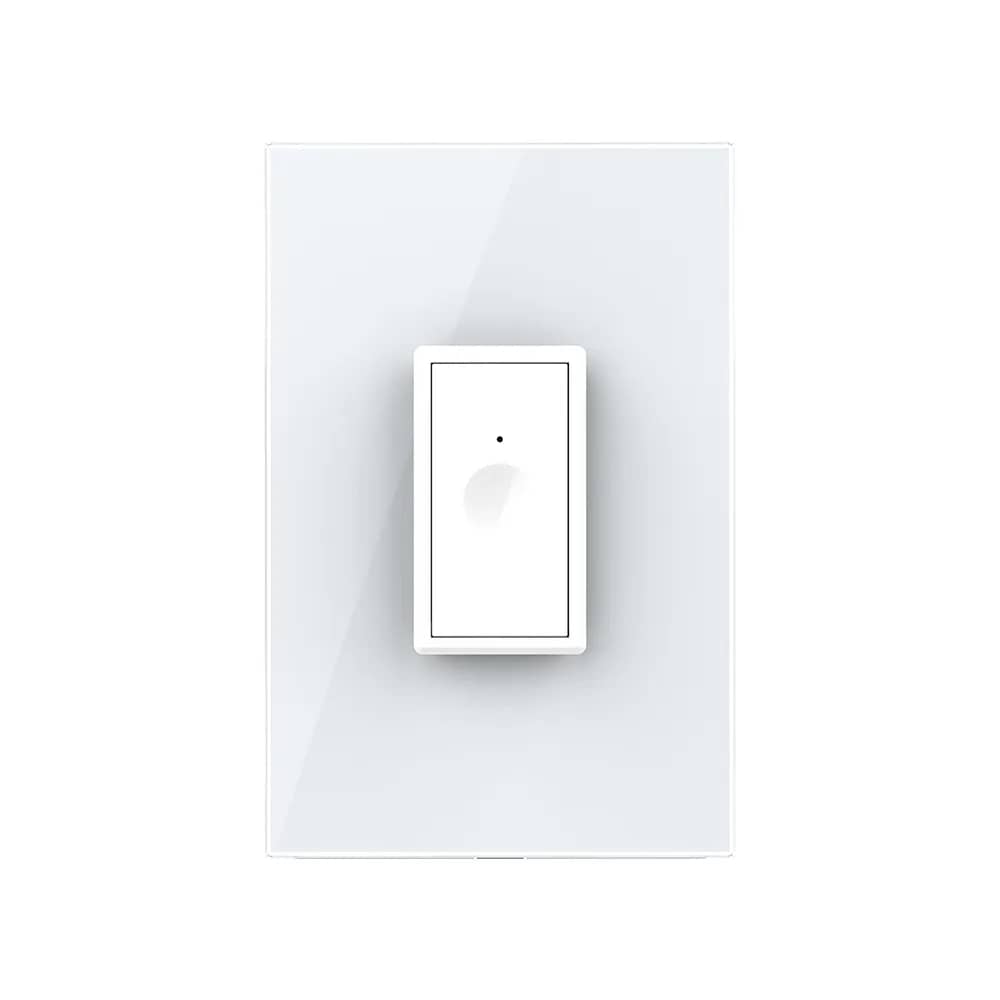
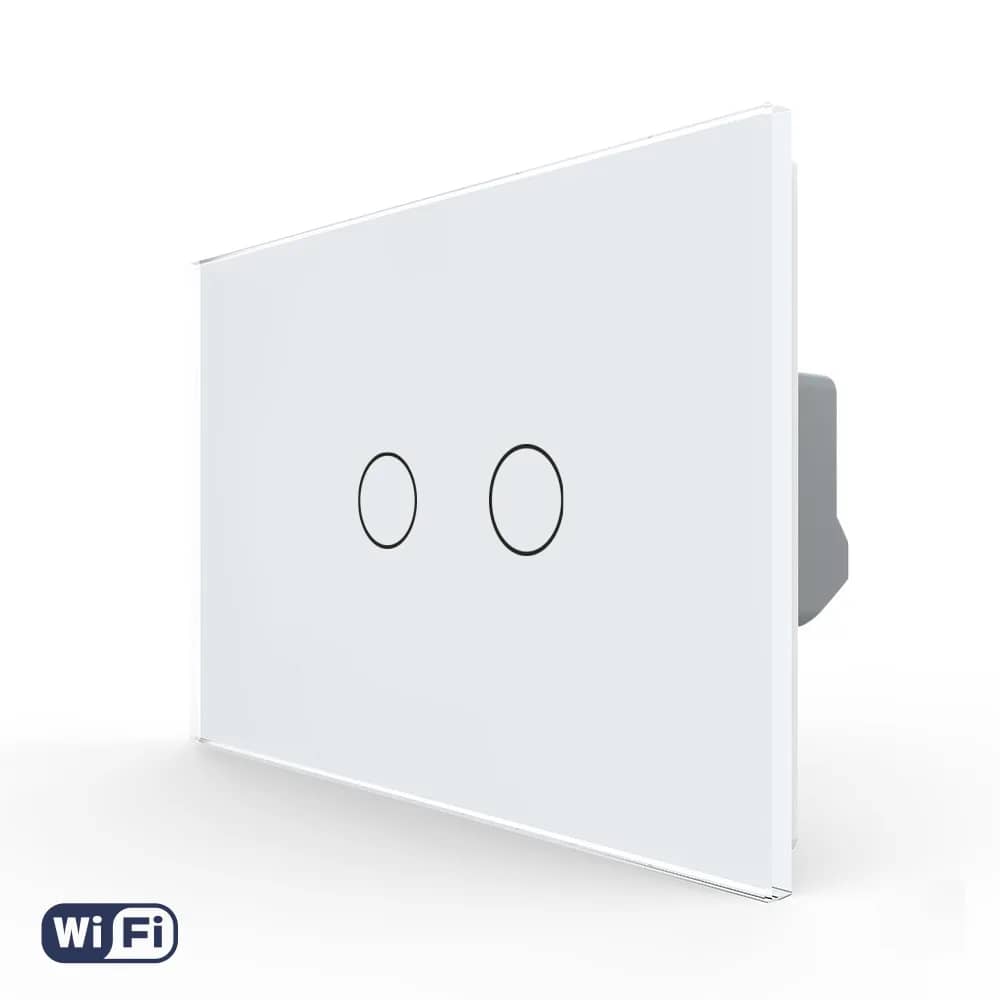
Livolo 2 gang Wi-Fi touch light switch in crystal glass, connects directly to your router – no hub needed. Requires a neutral wire.
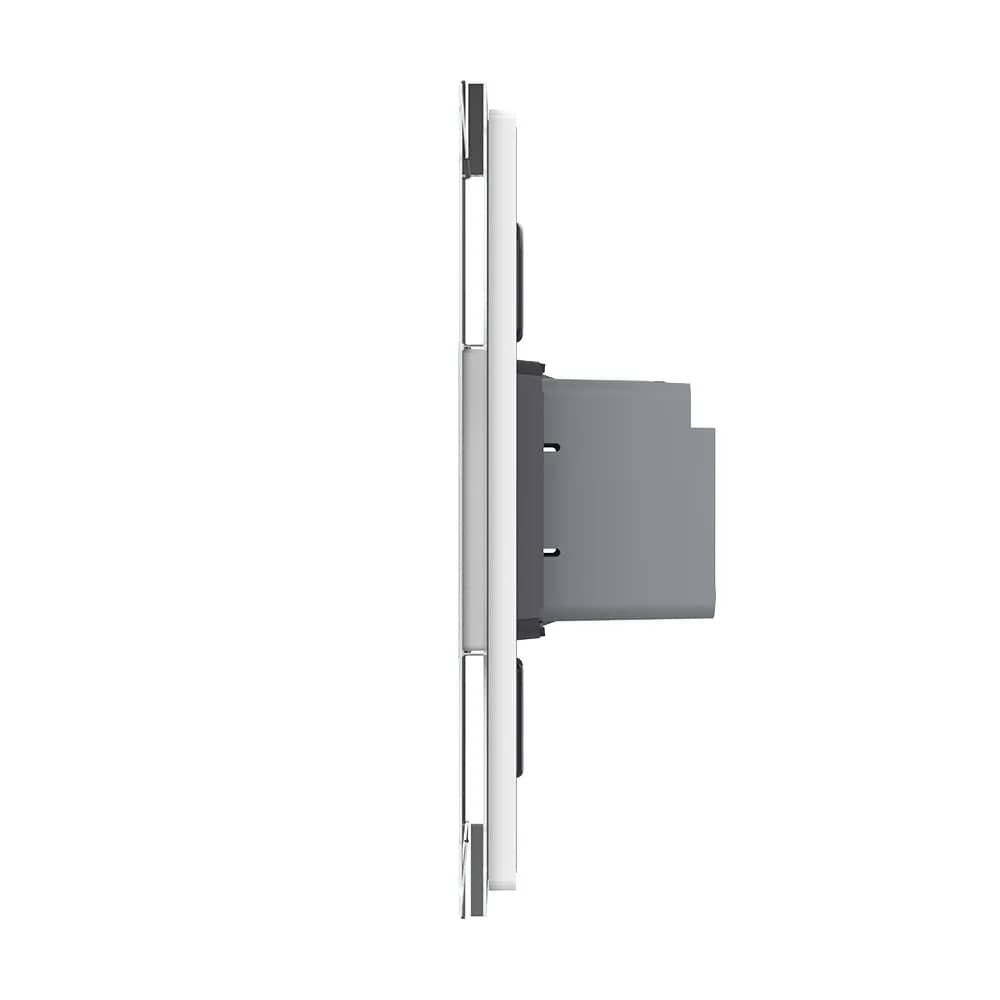
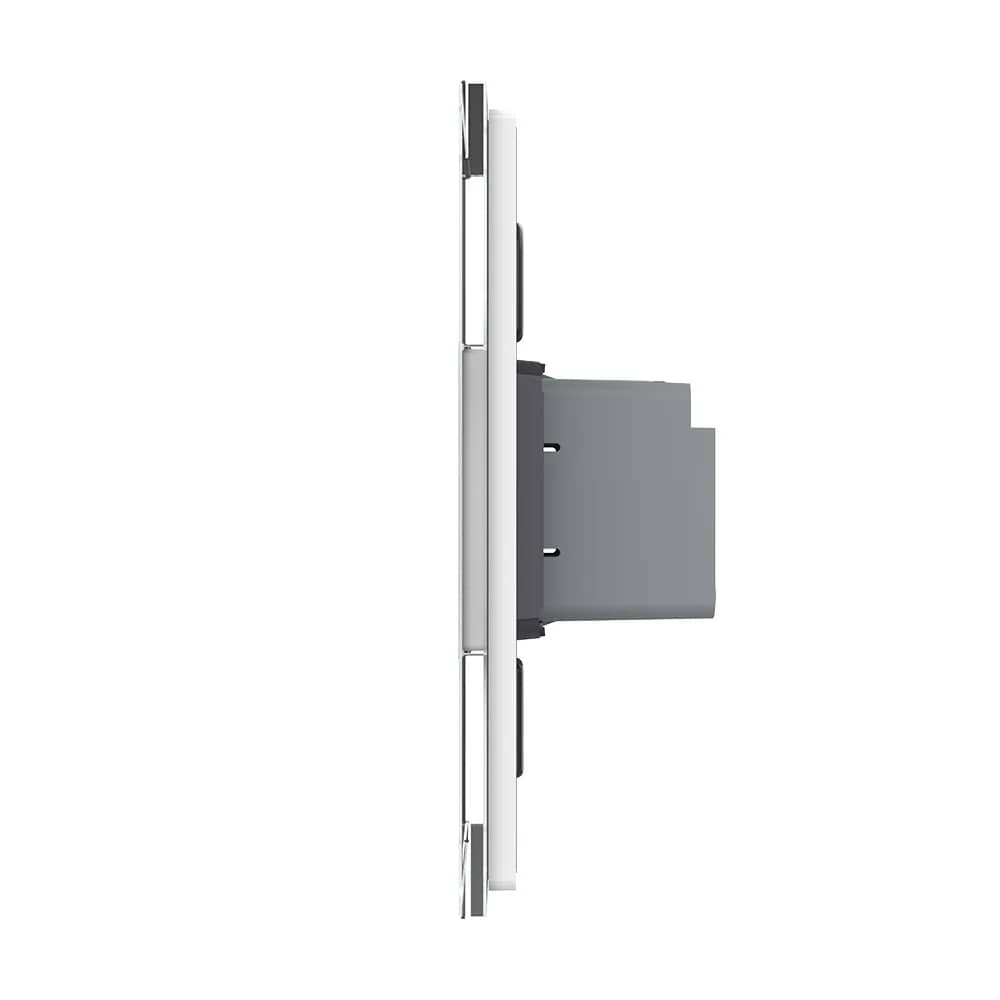
The Livolo 2 gang Wi-Fi touch light switch in crystal glass, resistant to scratches, moisture and dust, brings extra refinement and comfort to your home. This new-series switch is an improved, innovative product, the result of technology developed over years of study and research. It is a practical product, made from quality materials and built to last, offering functionality and comfort for your home.
Livolo Wi-Fi switches connect directly to your Wi-Fi router, with no hub required.
A neutral wire is required for operation
To control the switch from the app, the LIVOLO HOME app must be installed.
Connect the live (L) and neutral (N) wires to the switch, then connect each light to its own output.
The switch installs in four simple steps.