SmartHomesAE
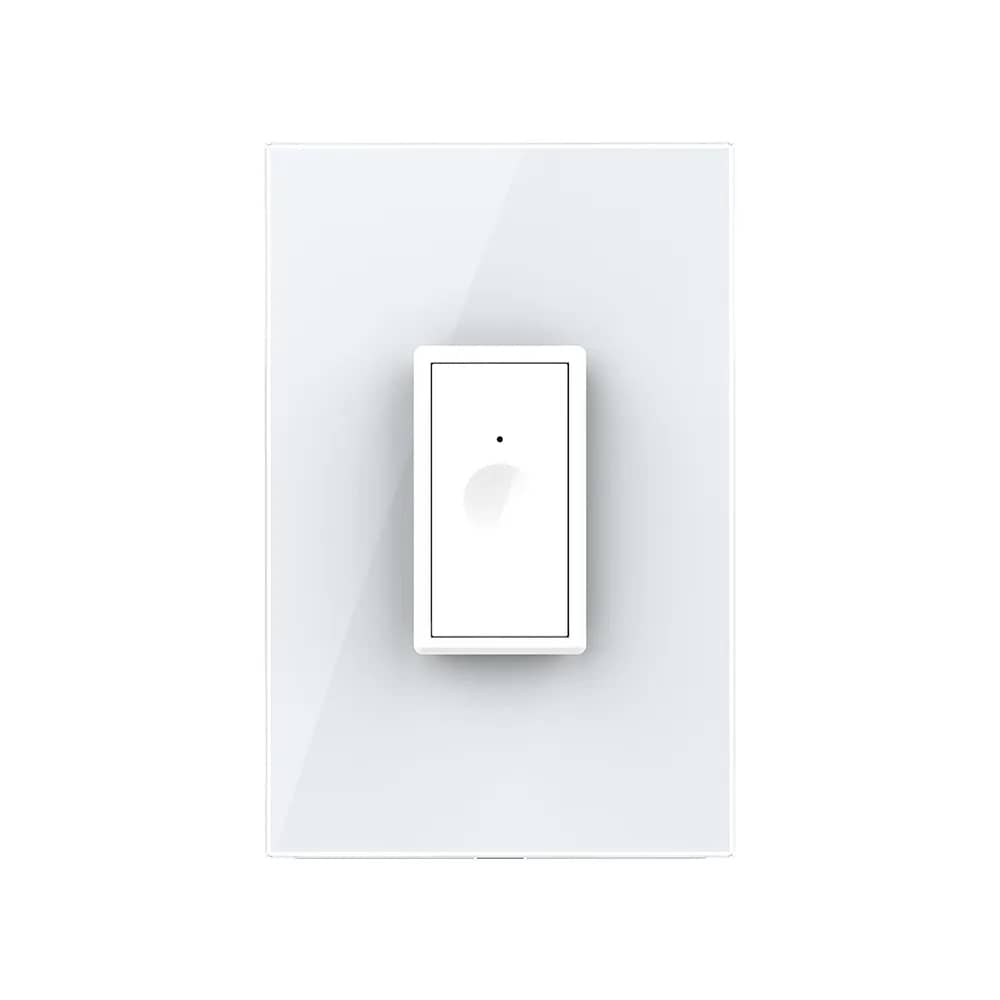
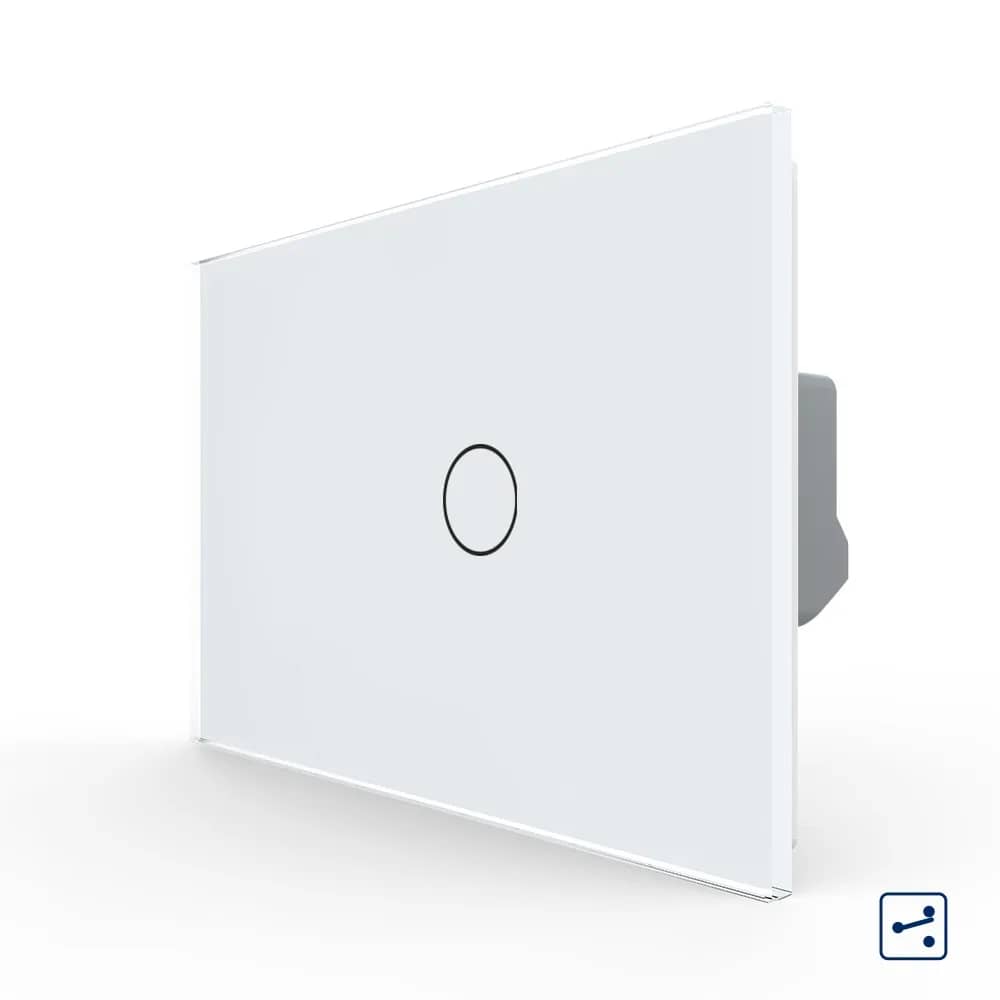
Livolo Glass Touch Light Switch – 1 Gang 2-Way / Intermediate (Cross), Italian Standard – White — image 1
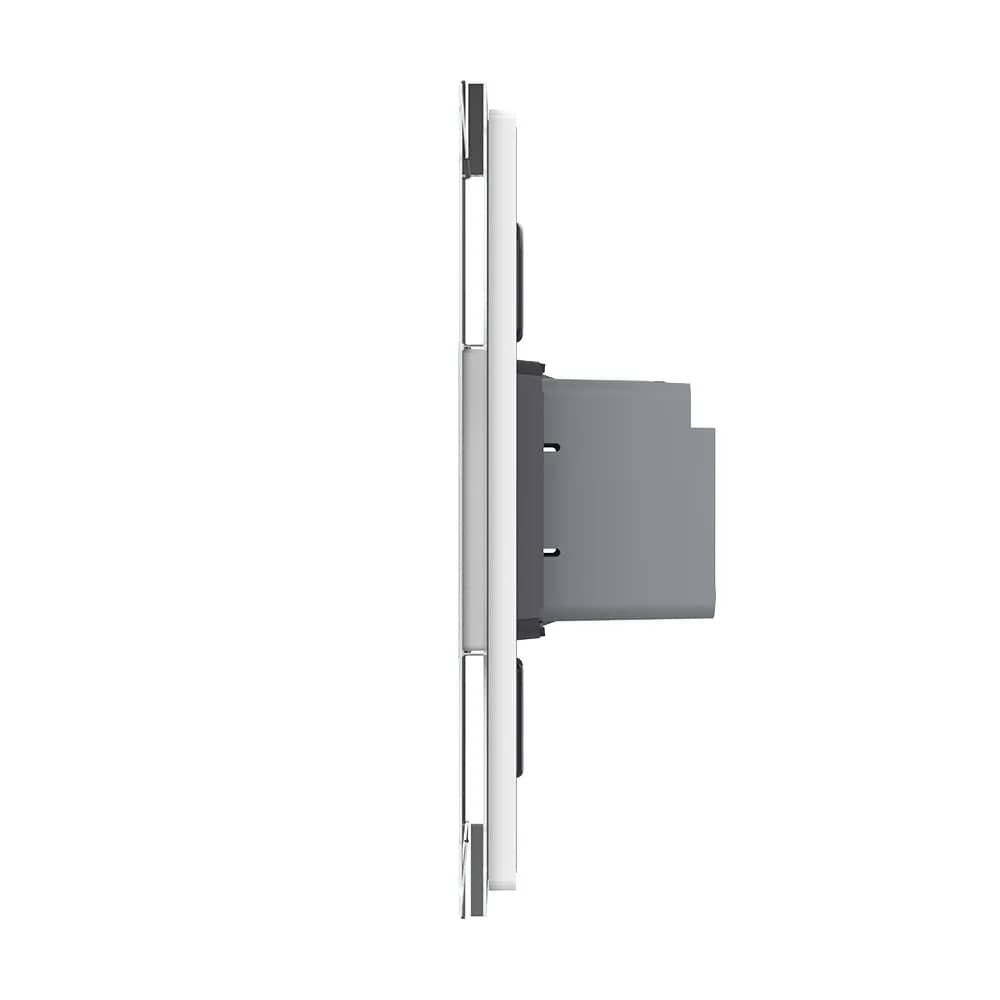
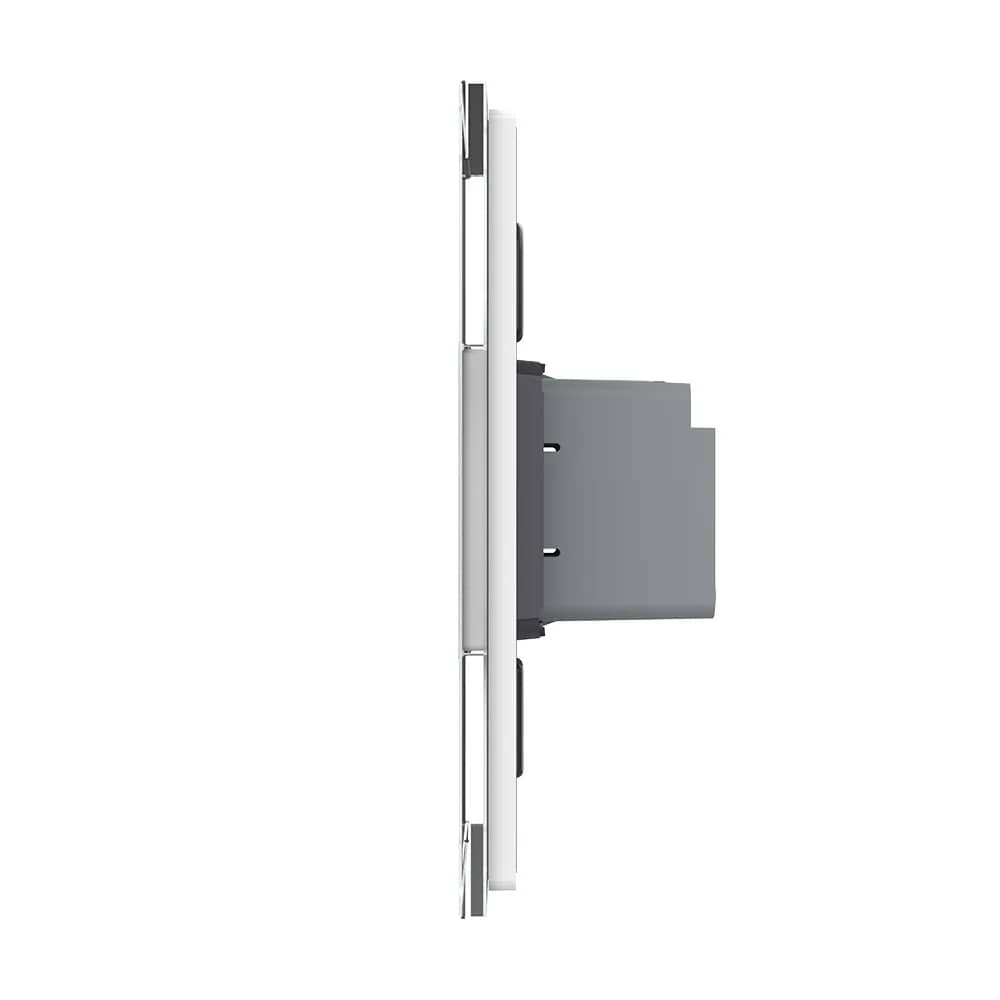
Livolo Glass Touch Light Switch – 1 Gang 2-Way / Intermediate (Cross), Italian Standard – White — image 2
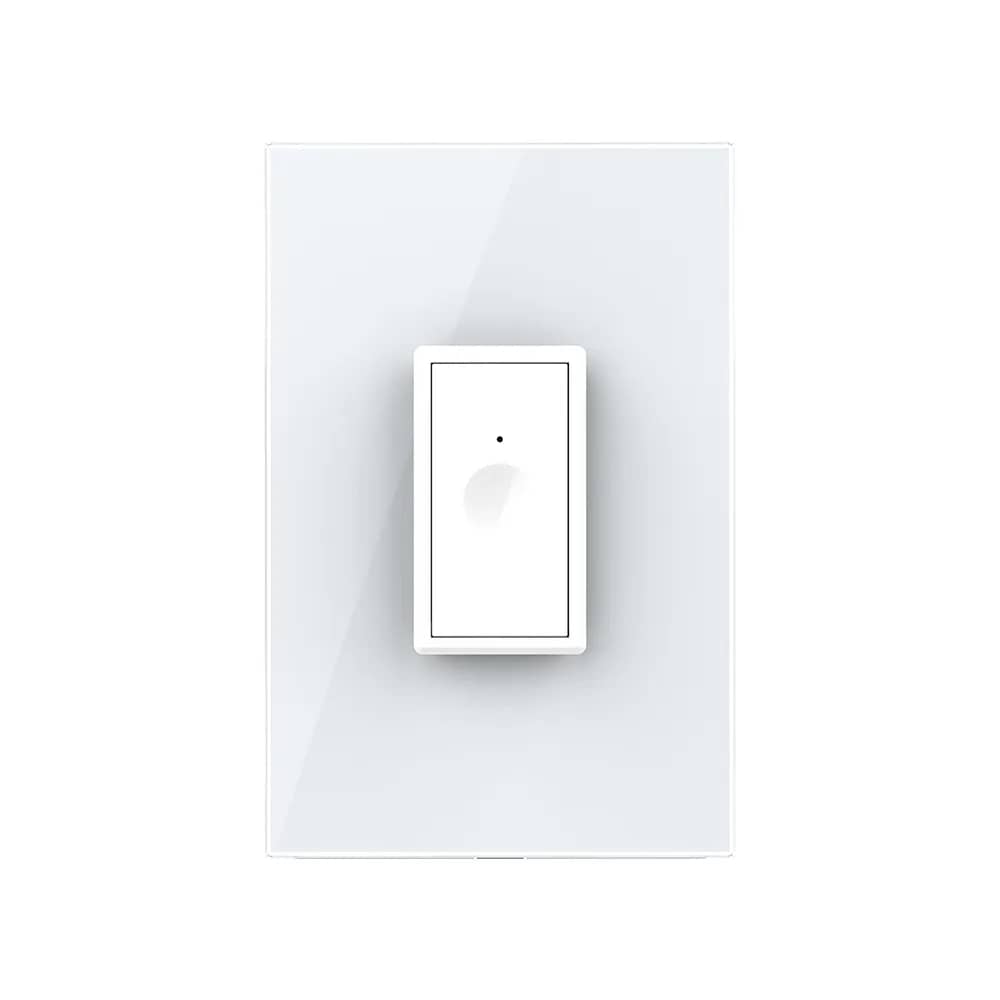
Livolo Glass Touch Light Switch – 1 Gang 2-Way / Intermediate (Cross), Italian Standard – White — image 3
1/3
Livolo

Livolo Glass Touch Light Switch – 1 Gang 2-Way / Intermediate (Cross), Italian Standard

SKU: VL-FC1S-2G-3W

AED 124

In stock

Colour: White
1
  • Delivery across all seven emirates. Free on orders over AED 750.
  • Order now, we confirm availability and delivery with you before you pay.

Livolo 1 gang 2-way / intermediate touch light switch with a glass panel, Italian standard, fits a 3-module box with 85mm screw spacing.

Product details

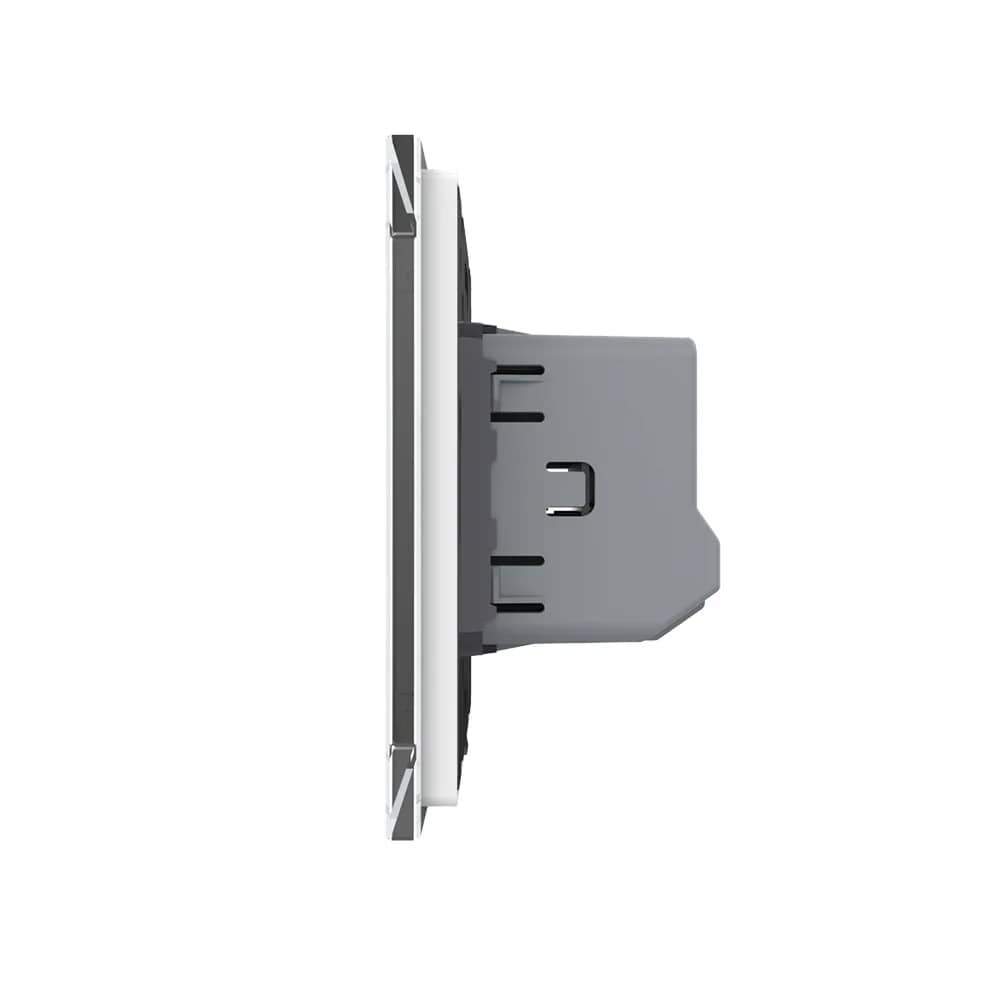
The new-series Livolo 1 gang 2-way (staircase) / intermediate (cross) touch light switch is an improved, innovative product, the result of technology developed over years of study and research. It is a practical product, made from quality materials and built to last, bringing convenience and comfort to your home. It is installed in a 3-module modular back box with 85mm spacing between the screws.

Highlights

Livolo Glass Touch Light Switch – 1 Gang 2-Way / Intermediate (Cross), Italian Standard – Installation Instructions – Wiring Diagram
01

Installation Instructions – Wiring Diagram

The wiring diagram shows two switches controlling one light in a two-way (staircase) or intermediate (cross) configuration.

  • Neutral (N): connected directly to the light bulb
  • Live (L): connected to the L terminal of each switch
  • Light: connected to the L1 terminal of the second switch
  • COM terminals of both switches linked together (two-way / intermediate traveller connection)
  • Terminals: N/G, L2, L1, L, COM
  • Rating printed on the module: 100–240V~ 50/60Hz, 2A/gang
Livolo Glass Touch Light Switch – 1 Gang 2-Way / Intermediate (Cross), Italian Standard – Installation Steps
02

Installation Steps

  • 1. Open the package.
  • 2. Connect the wires and tighten the screws.
  • 3. Use the 2 screws to secure the frame.
  • 4. Fit the front panel – it clicks into place.