SmartHomesAE
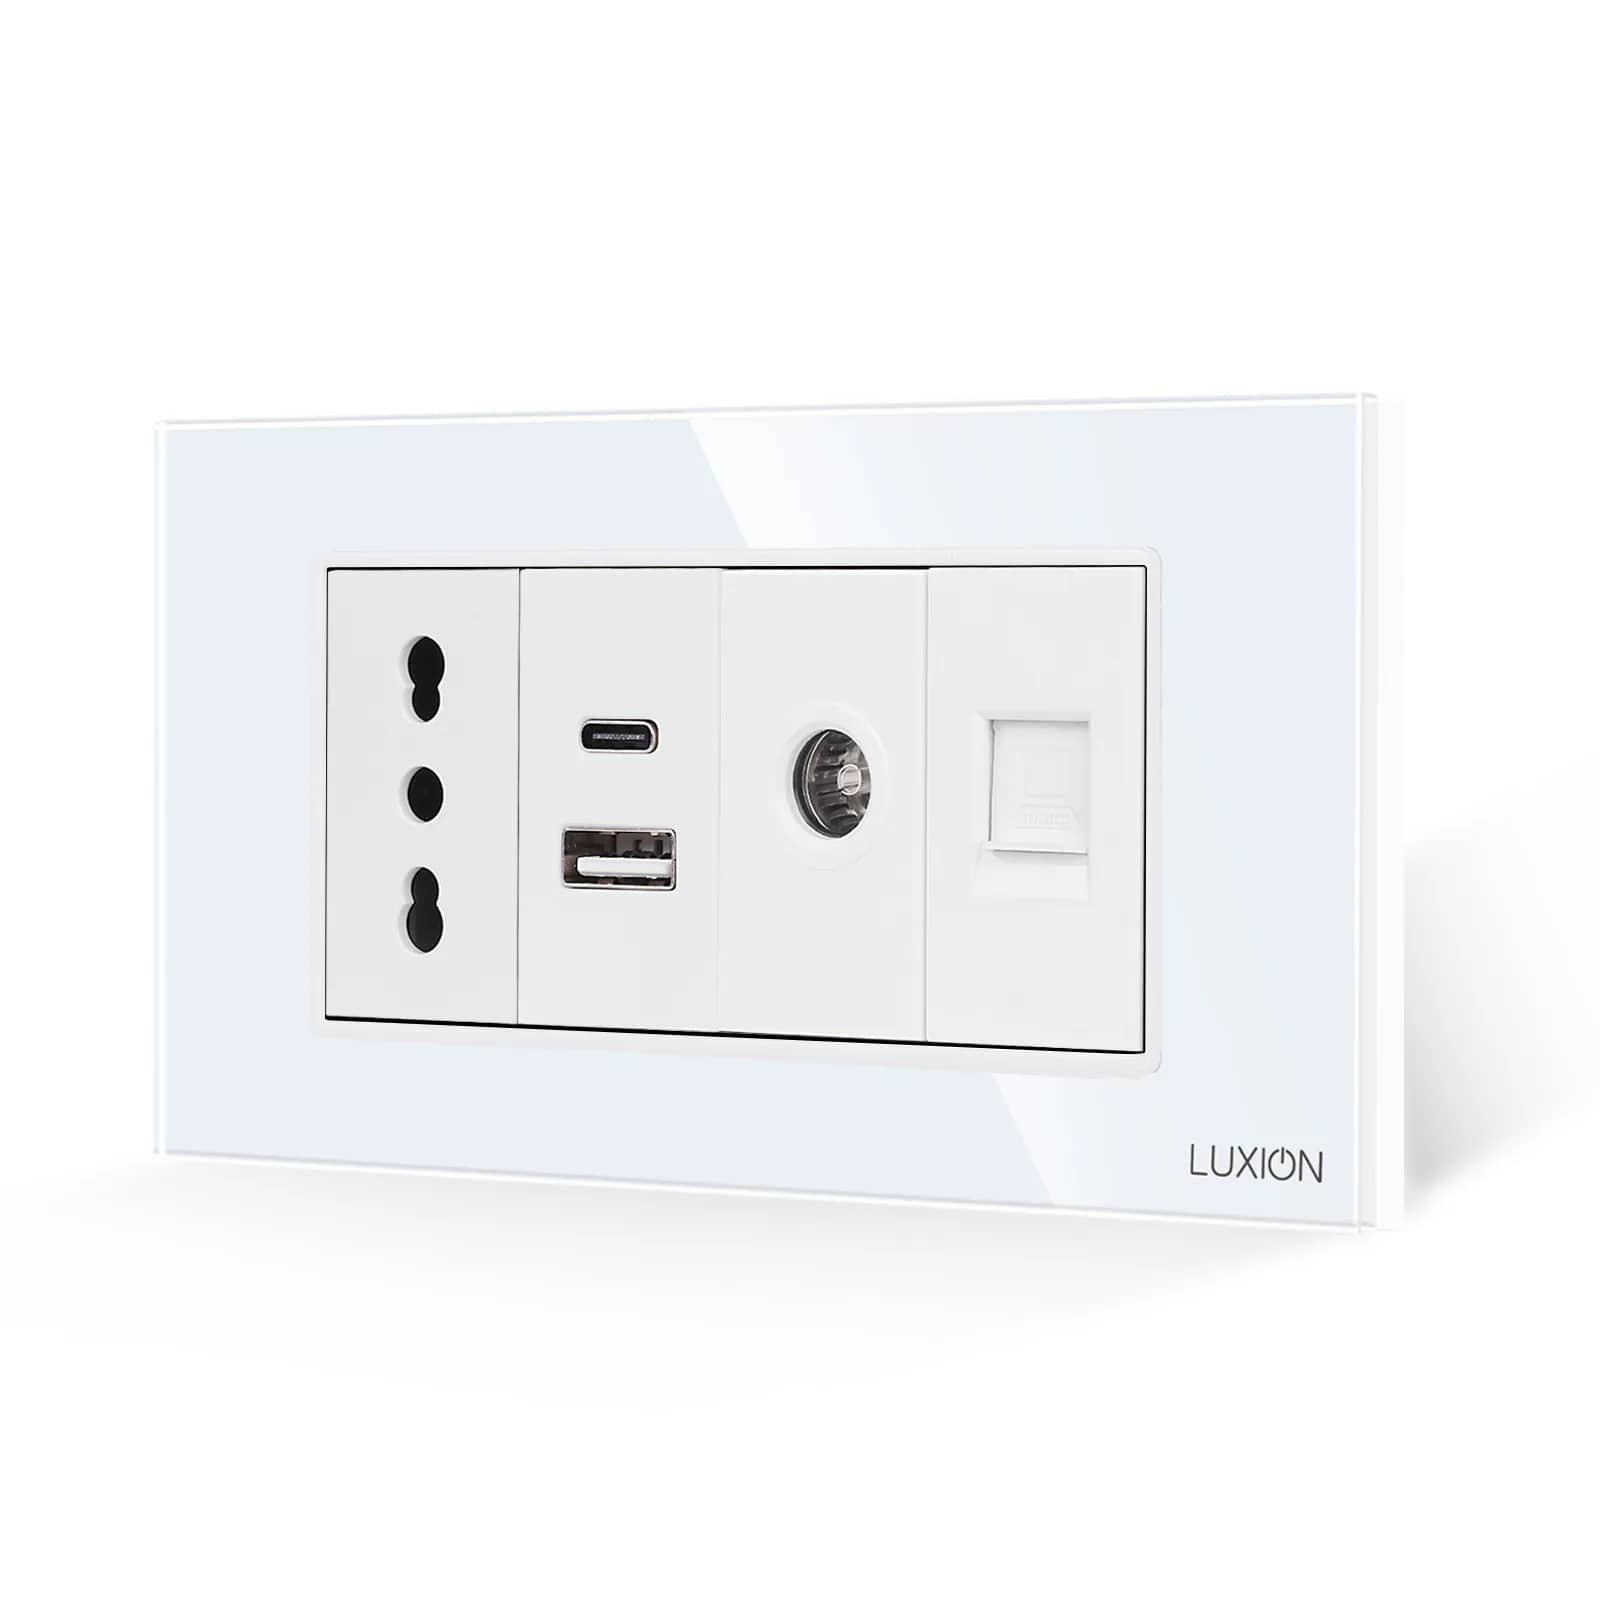
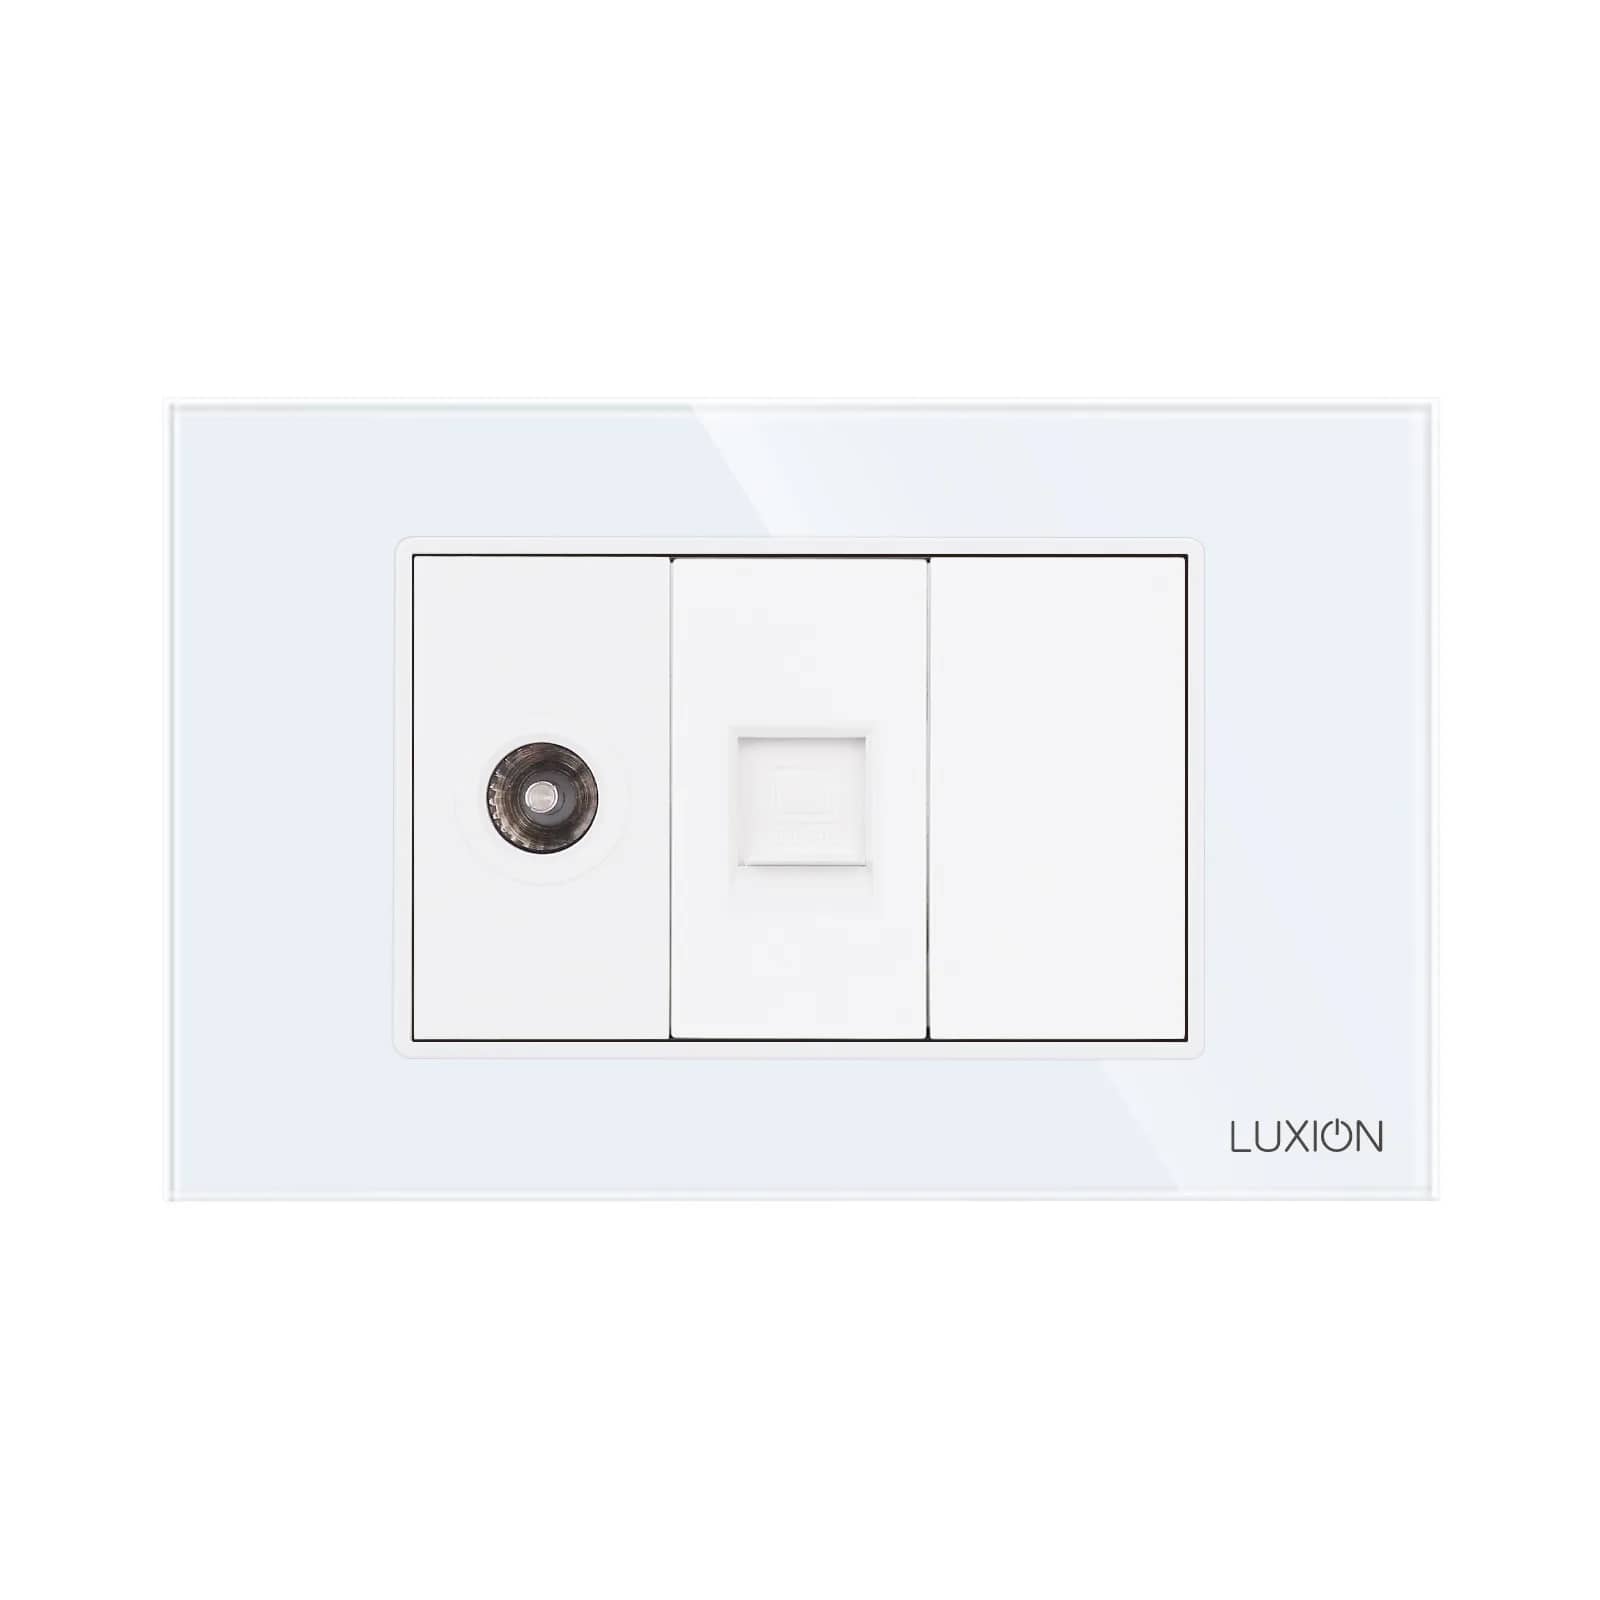
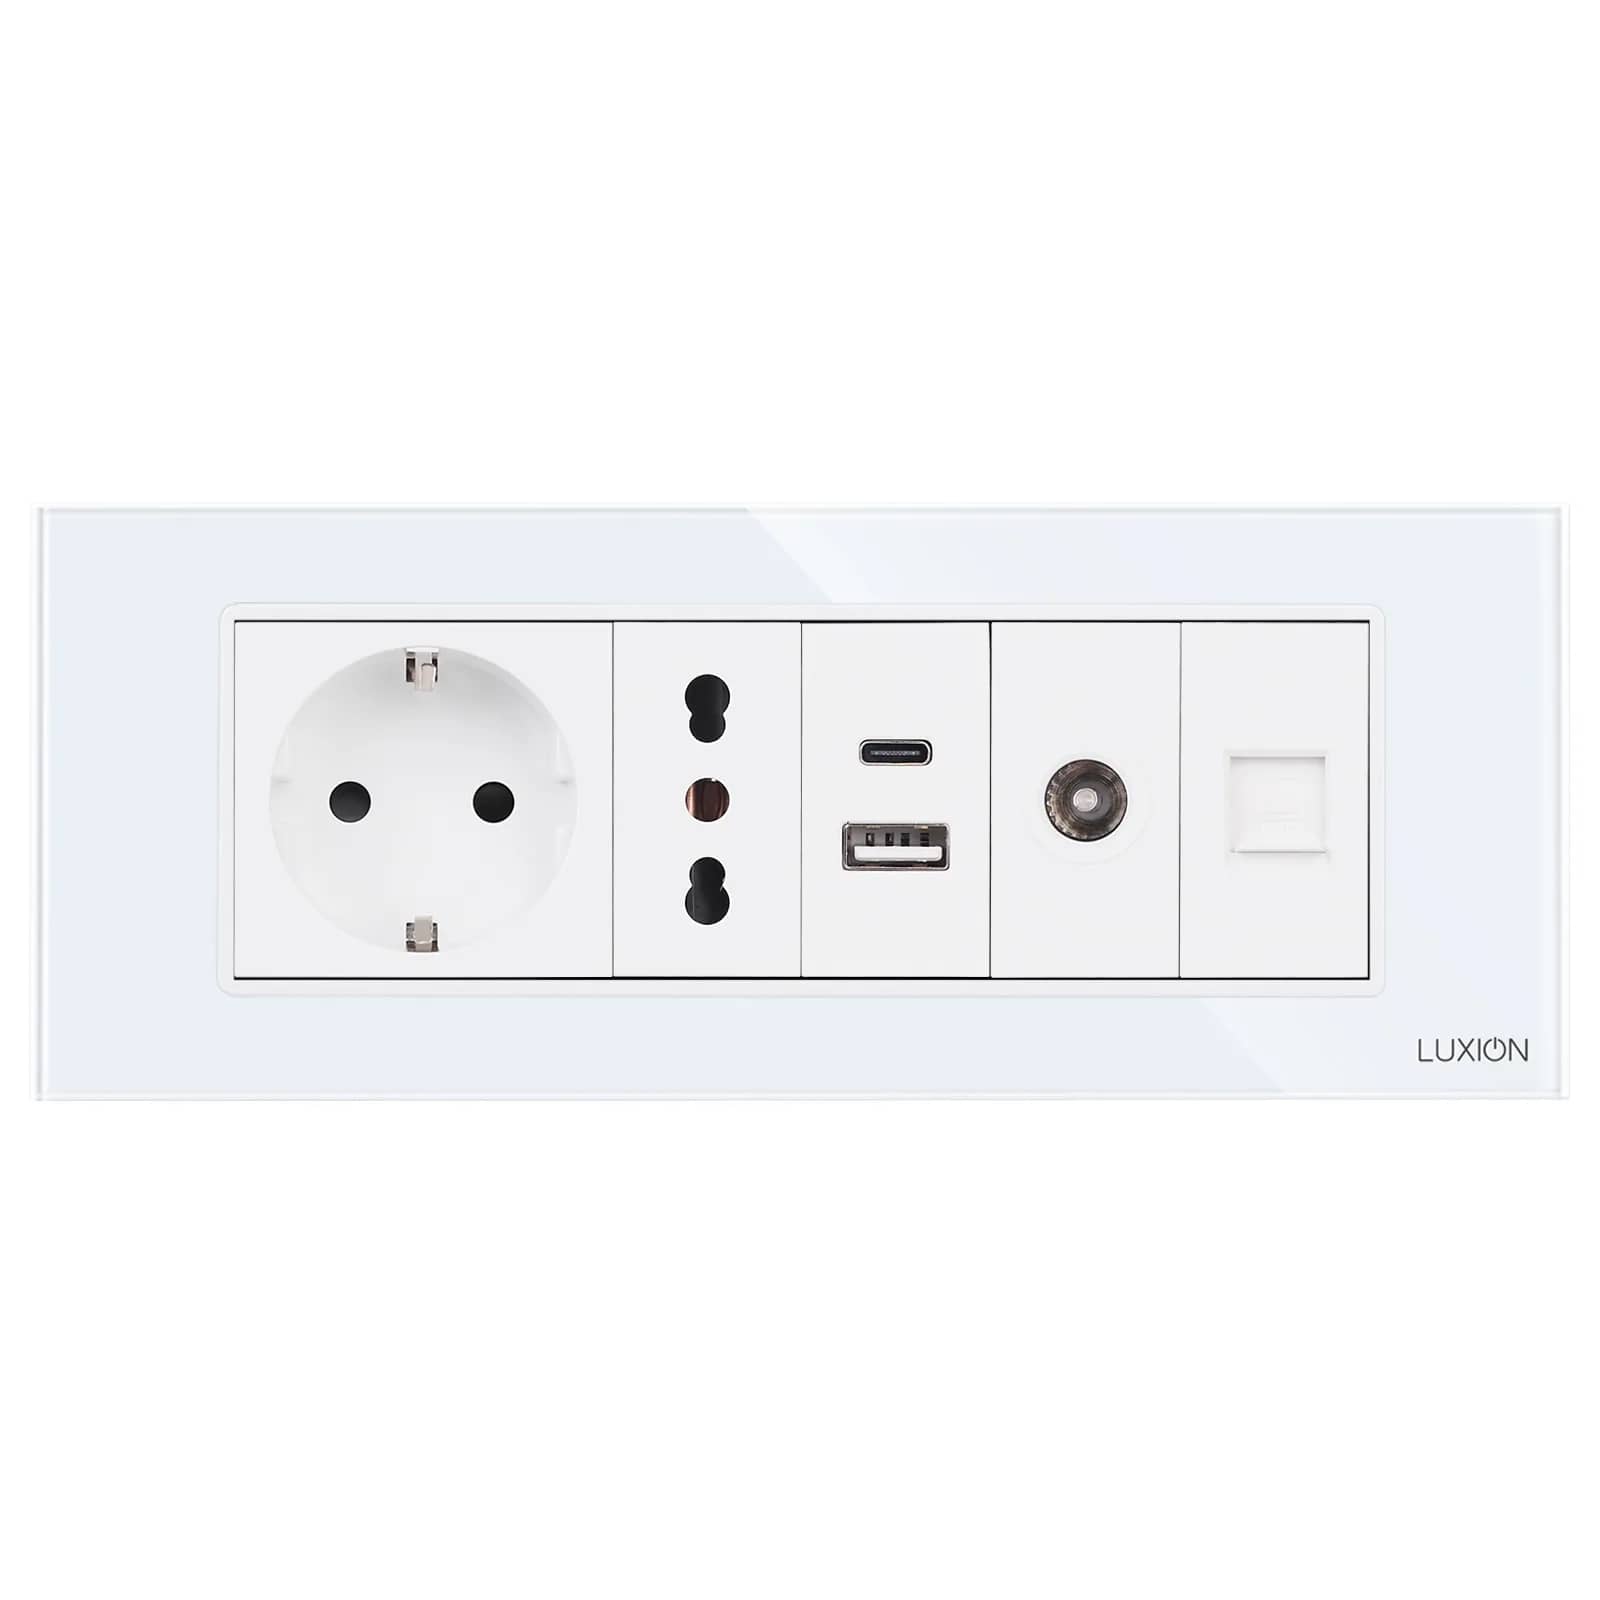
Luxion Telephone Socket + Blank with Glass Frame – White — image 1
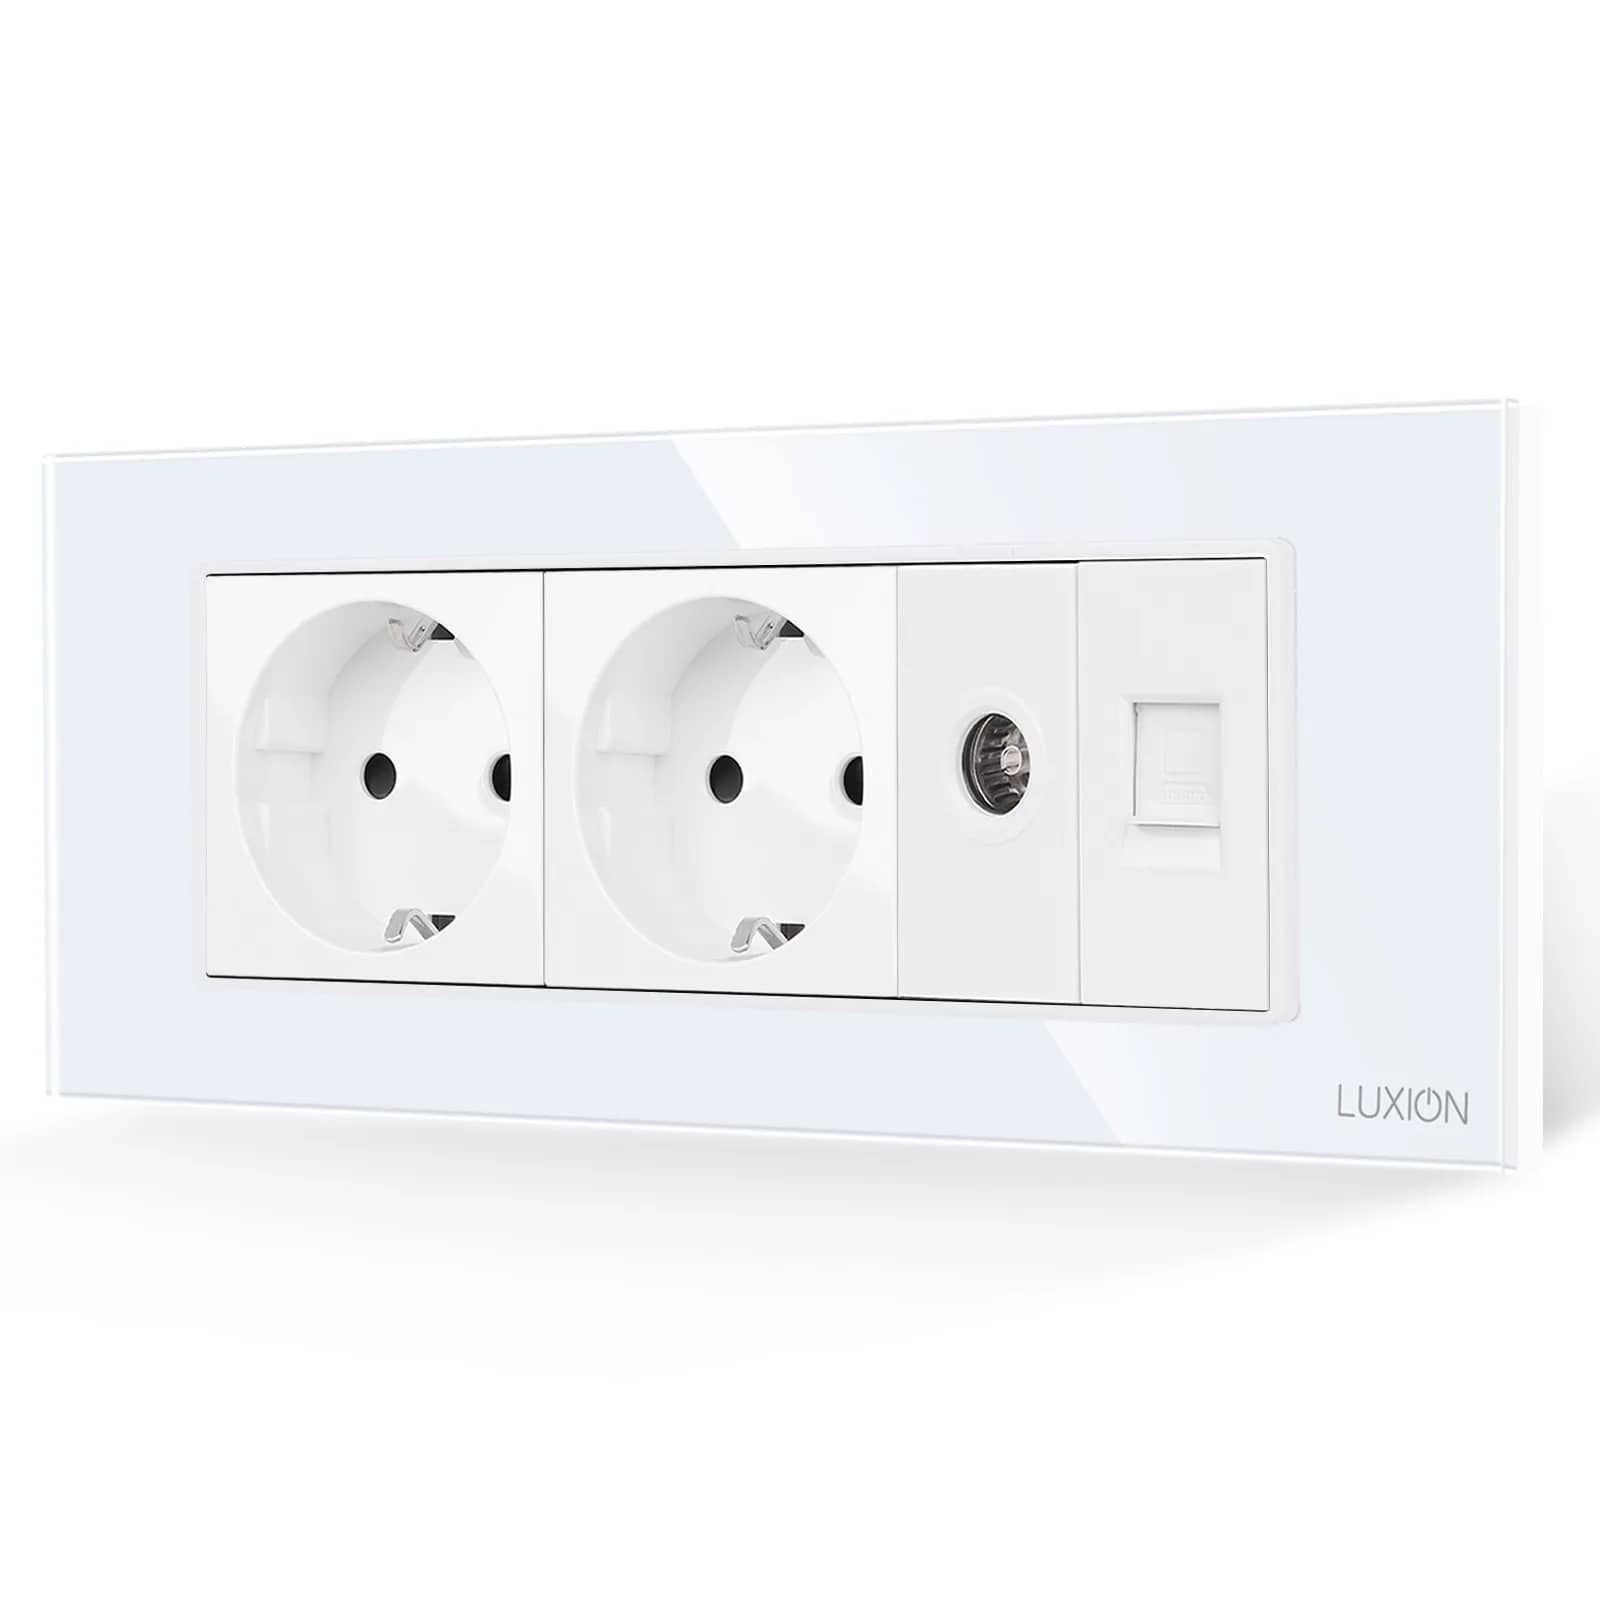
Luxion Telephone Socket + Blank with Glass Frame – White — image 2
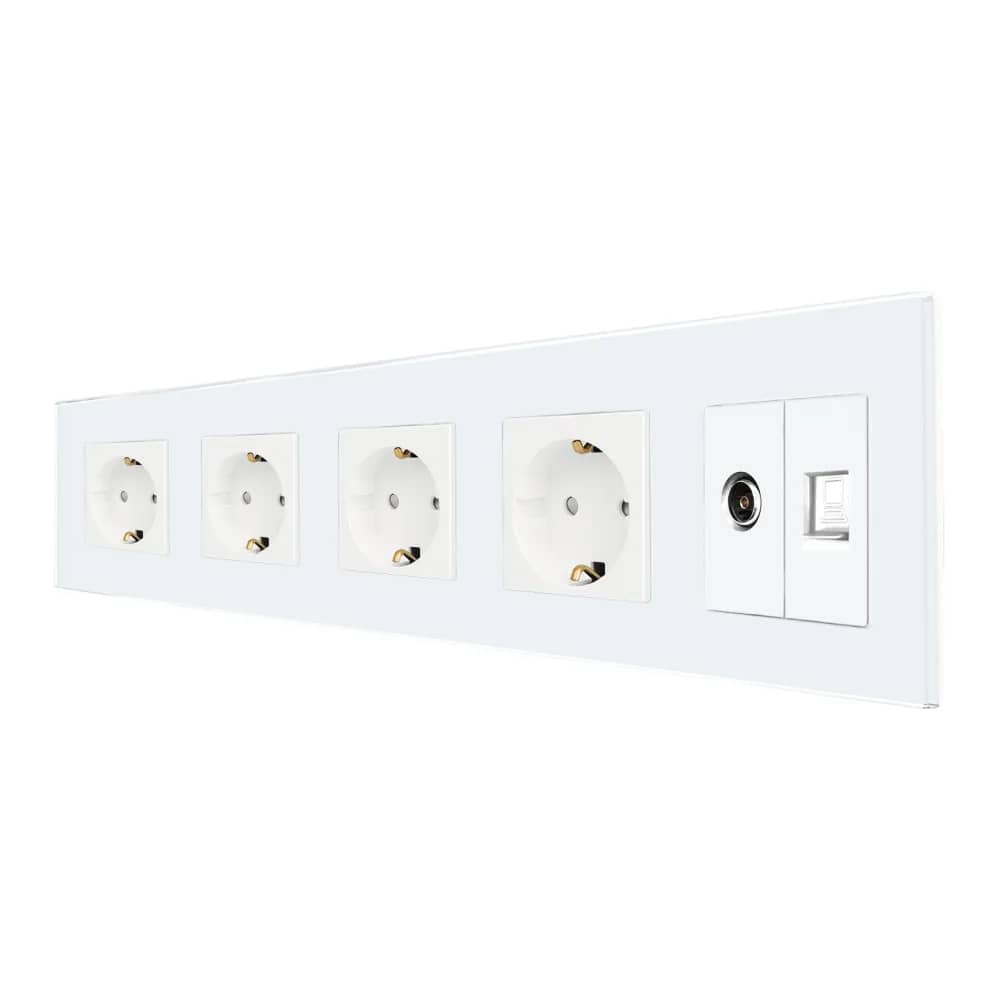
Luxion Telephone Socket + Blank with Glass Frame – White — image 3
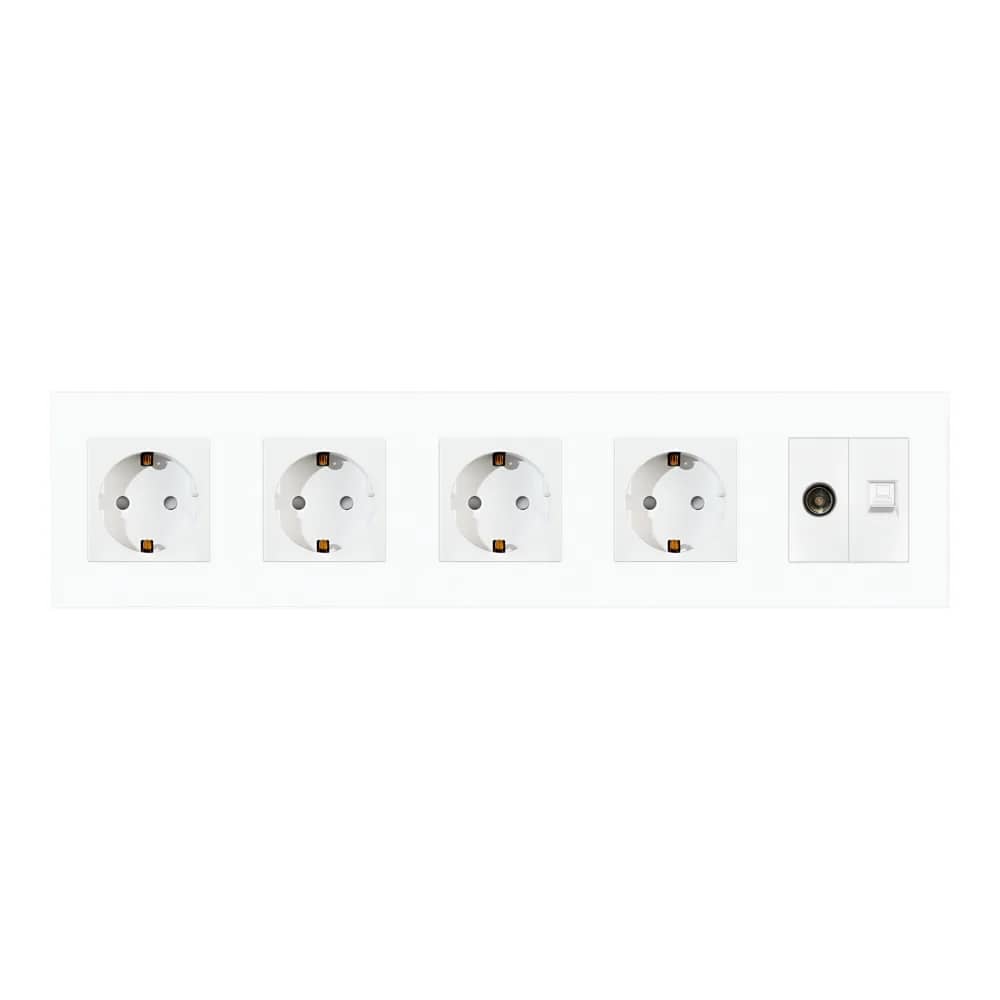
Luxion Telephone Socket + Blank with Glass Frame – White — image 4
1/4
Luxion

Luxion Telephone Socket + Blank with Glass Frame

SKU: LX-MP016G-W

AED 25

In stock

Colour: White
1
  • Delivery across all seven emirates. Free on orders over AED 750.
  • Order now, we confirm availability and delivery with you before you pay.

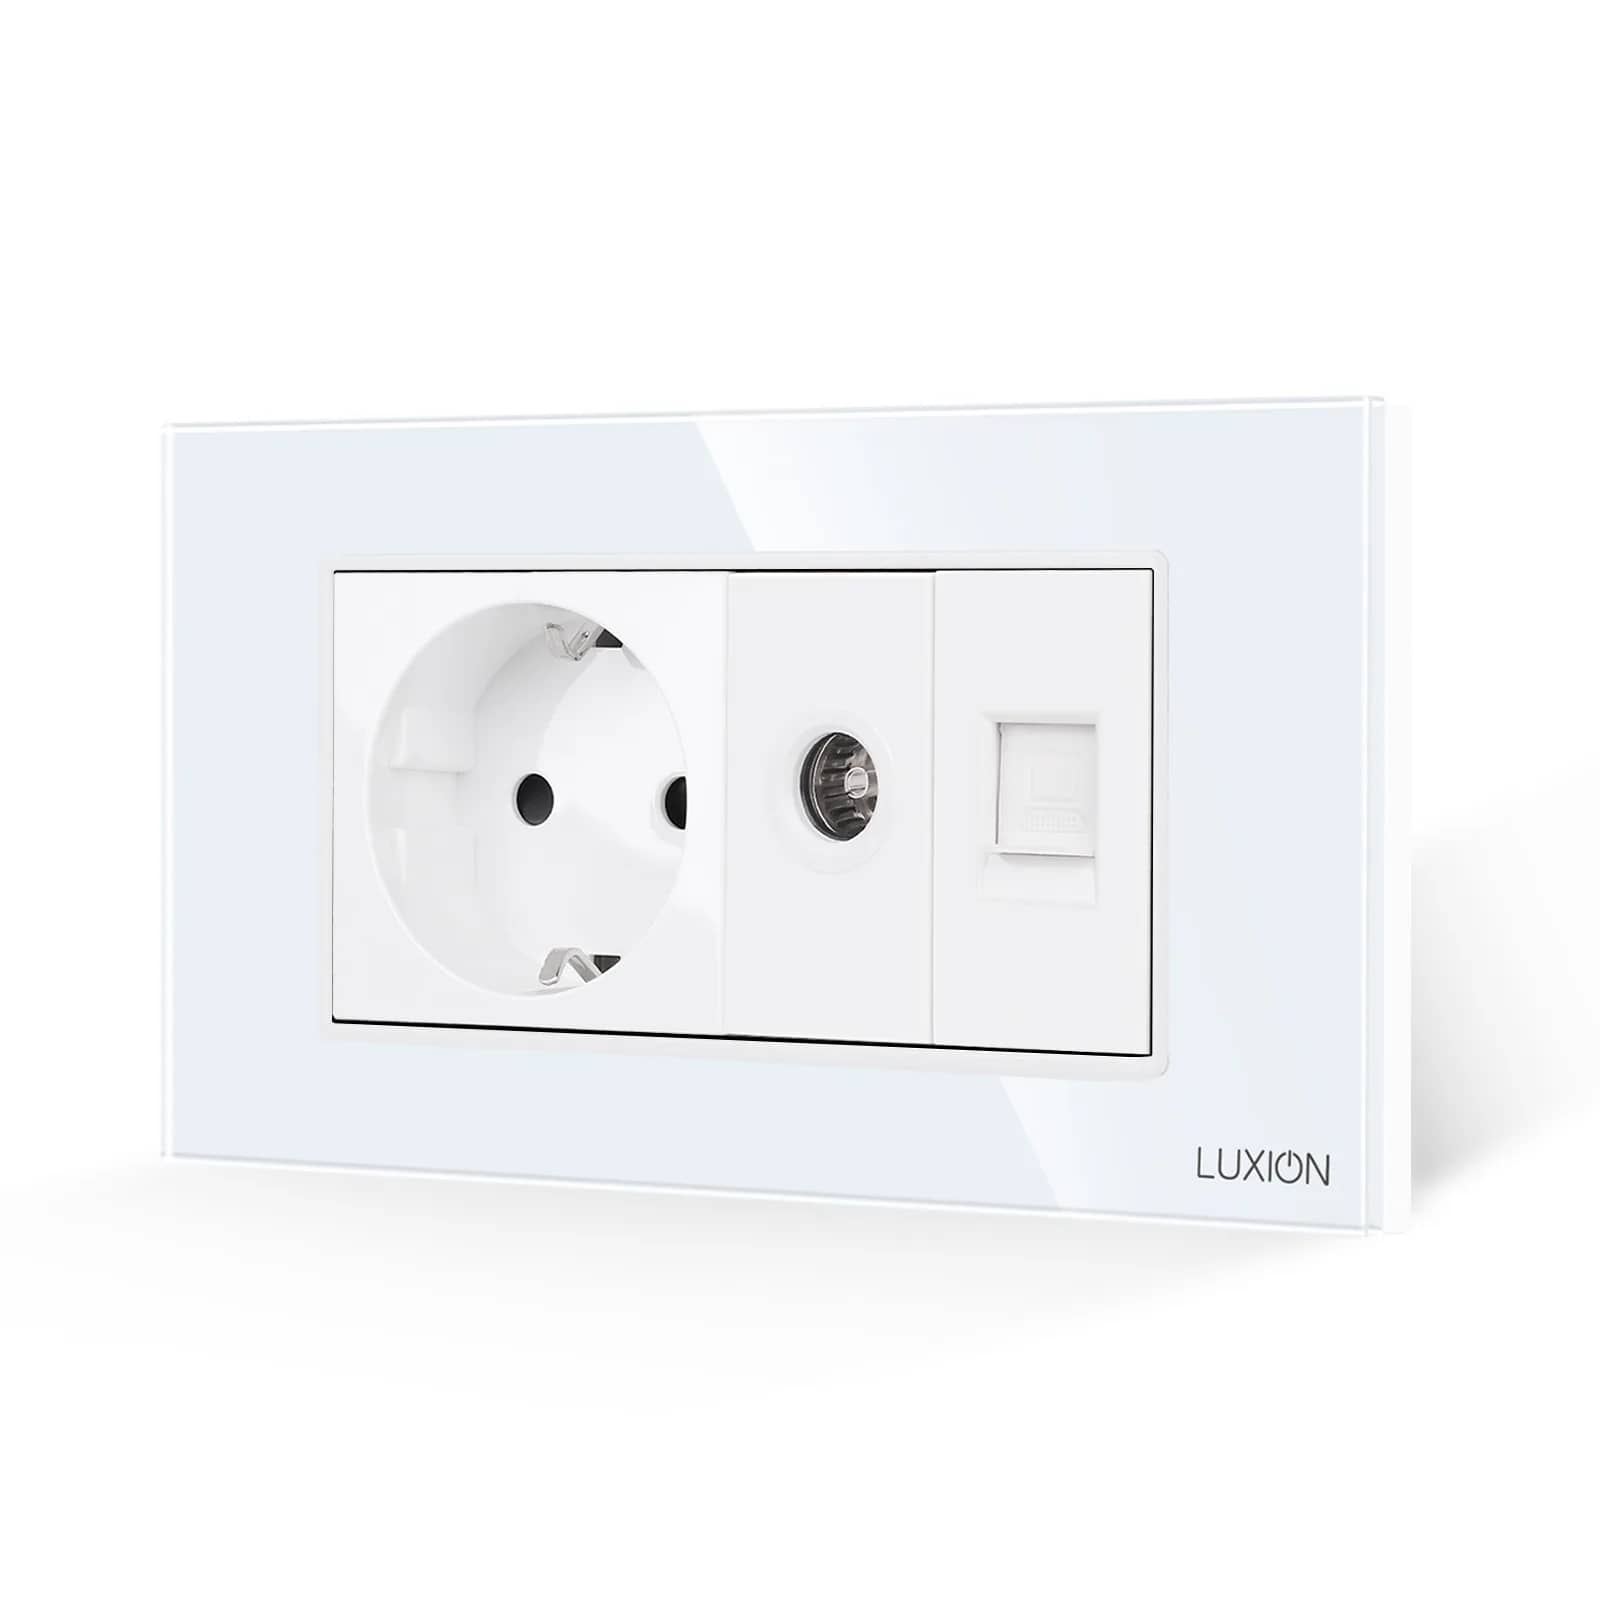
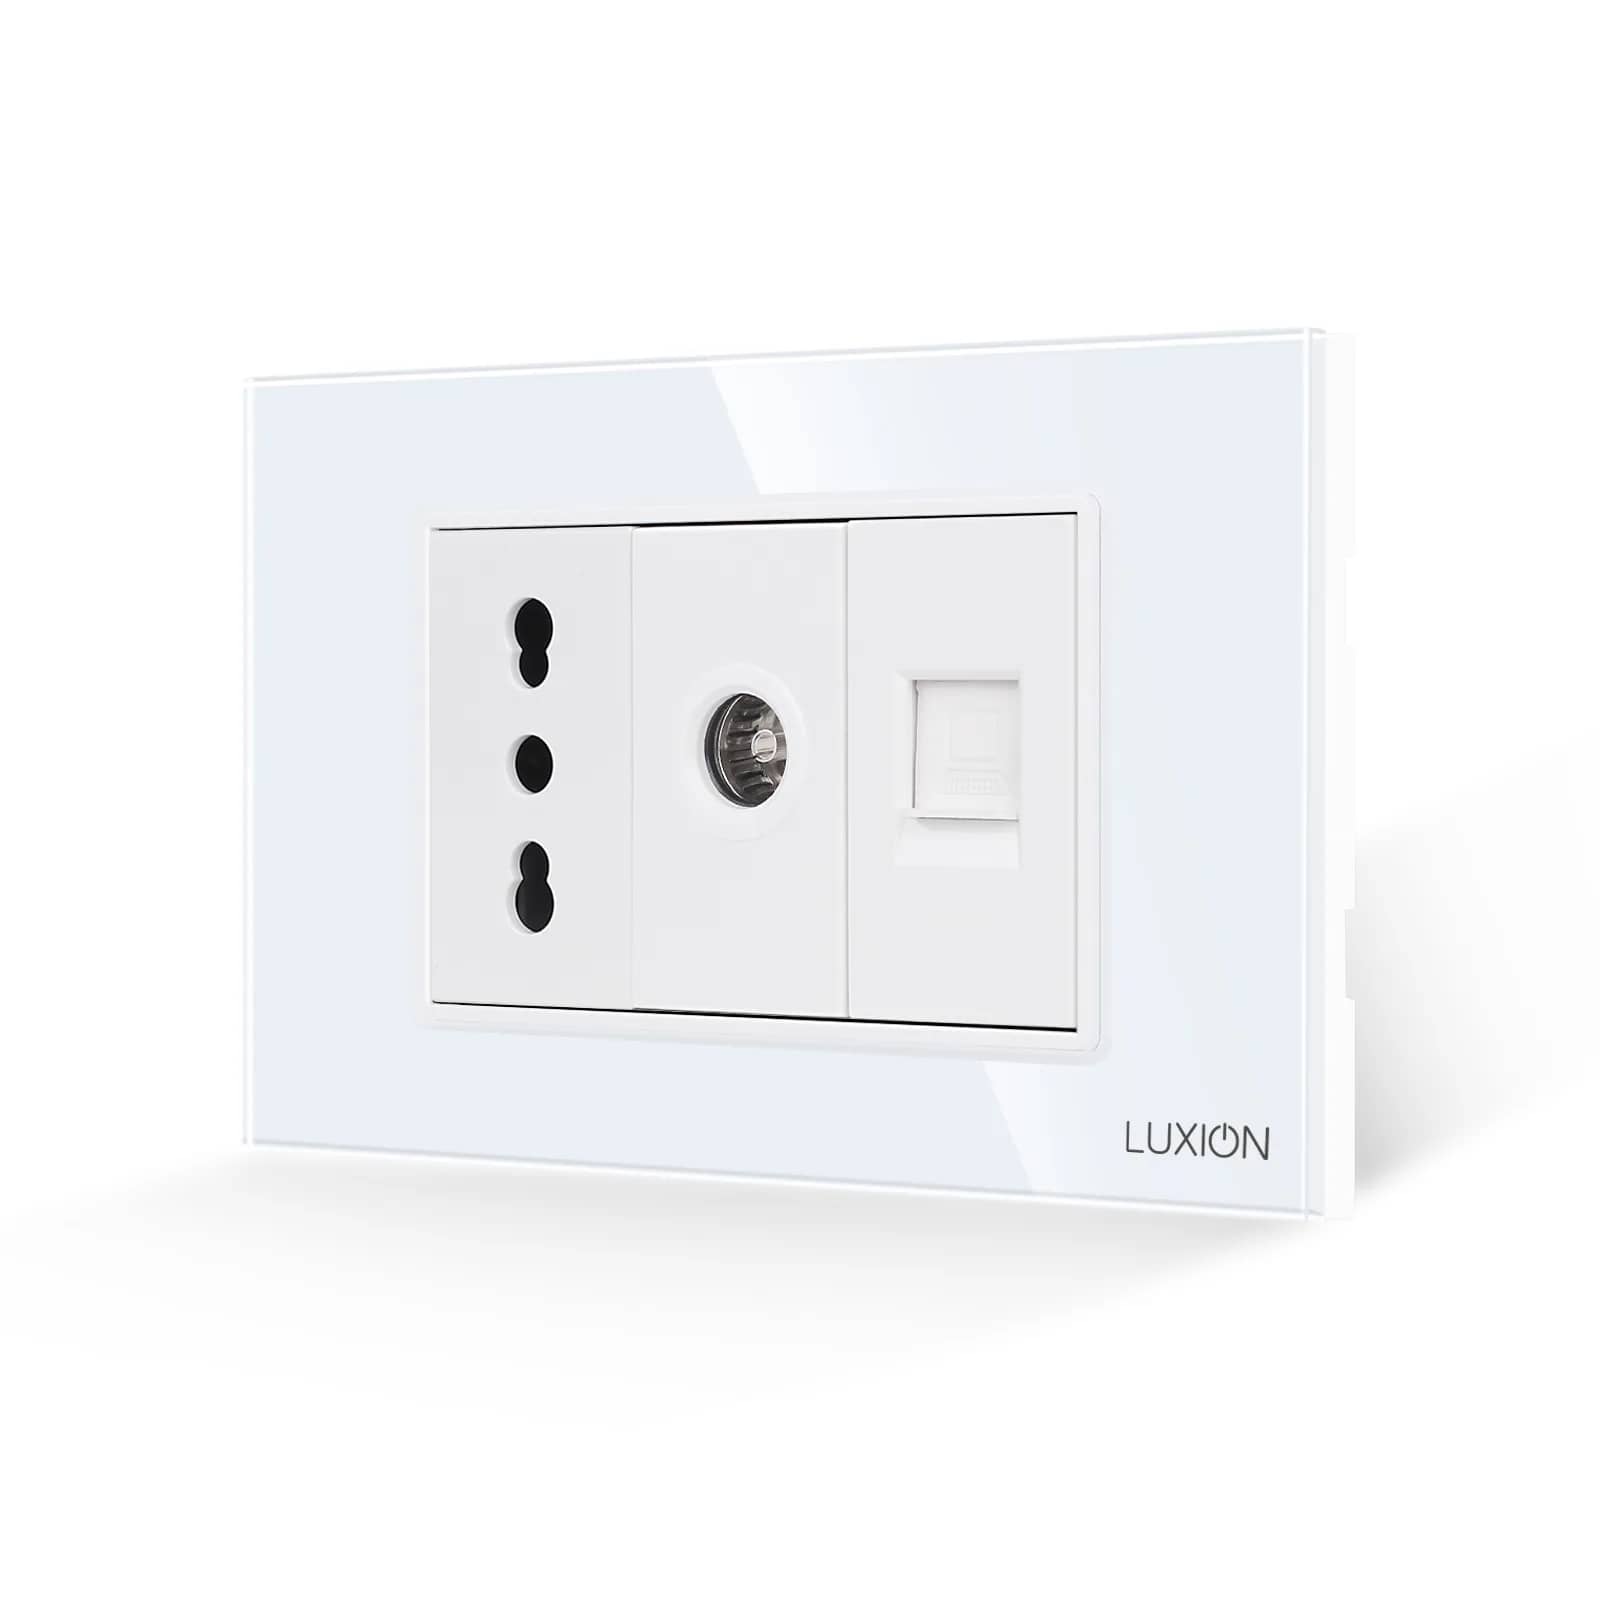
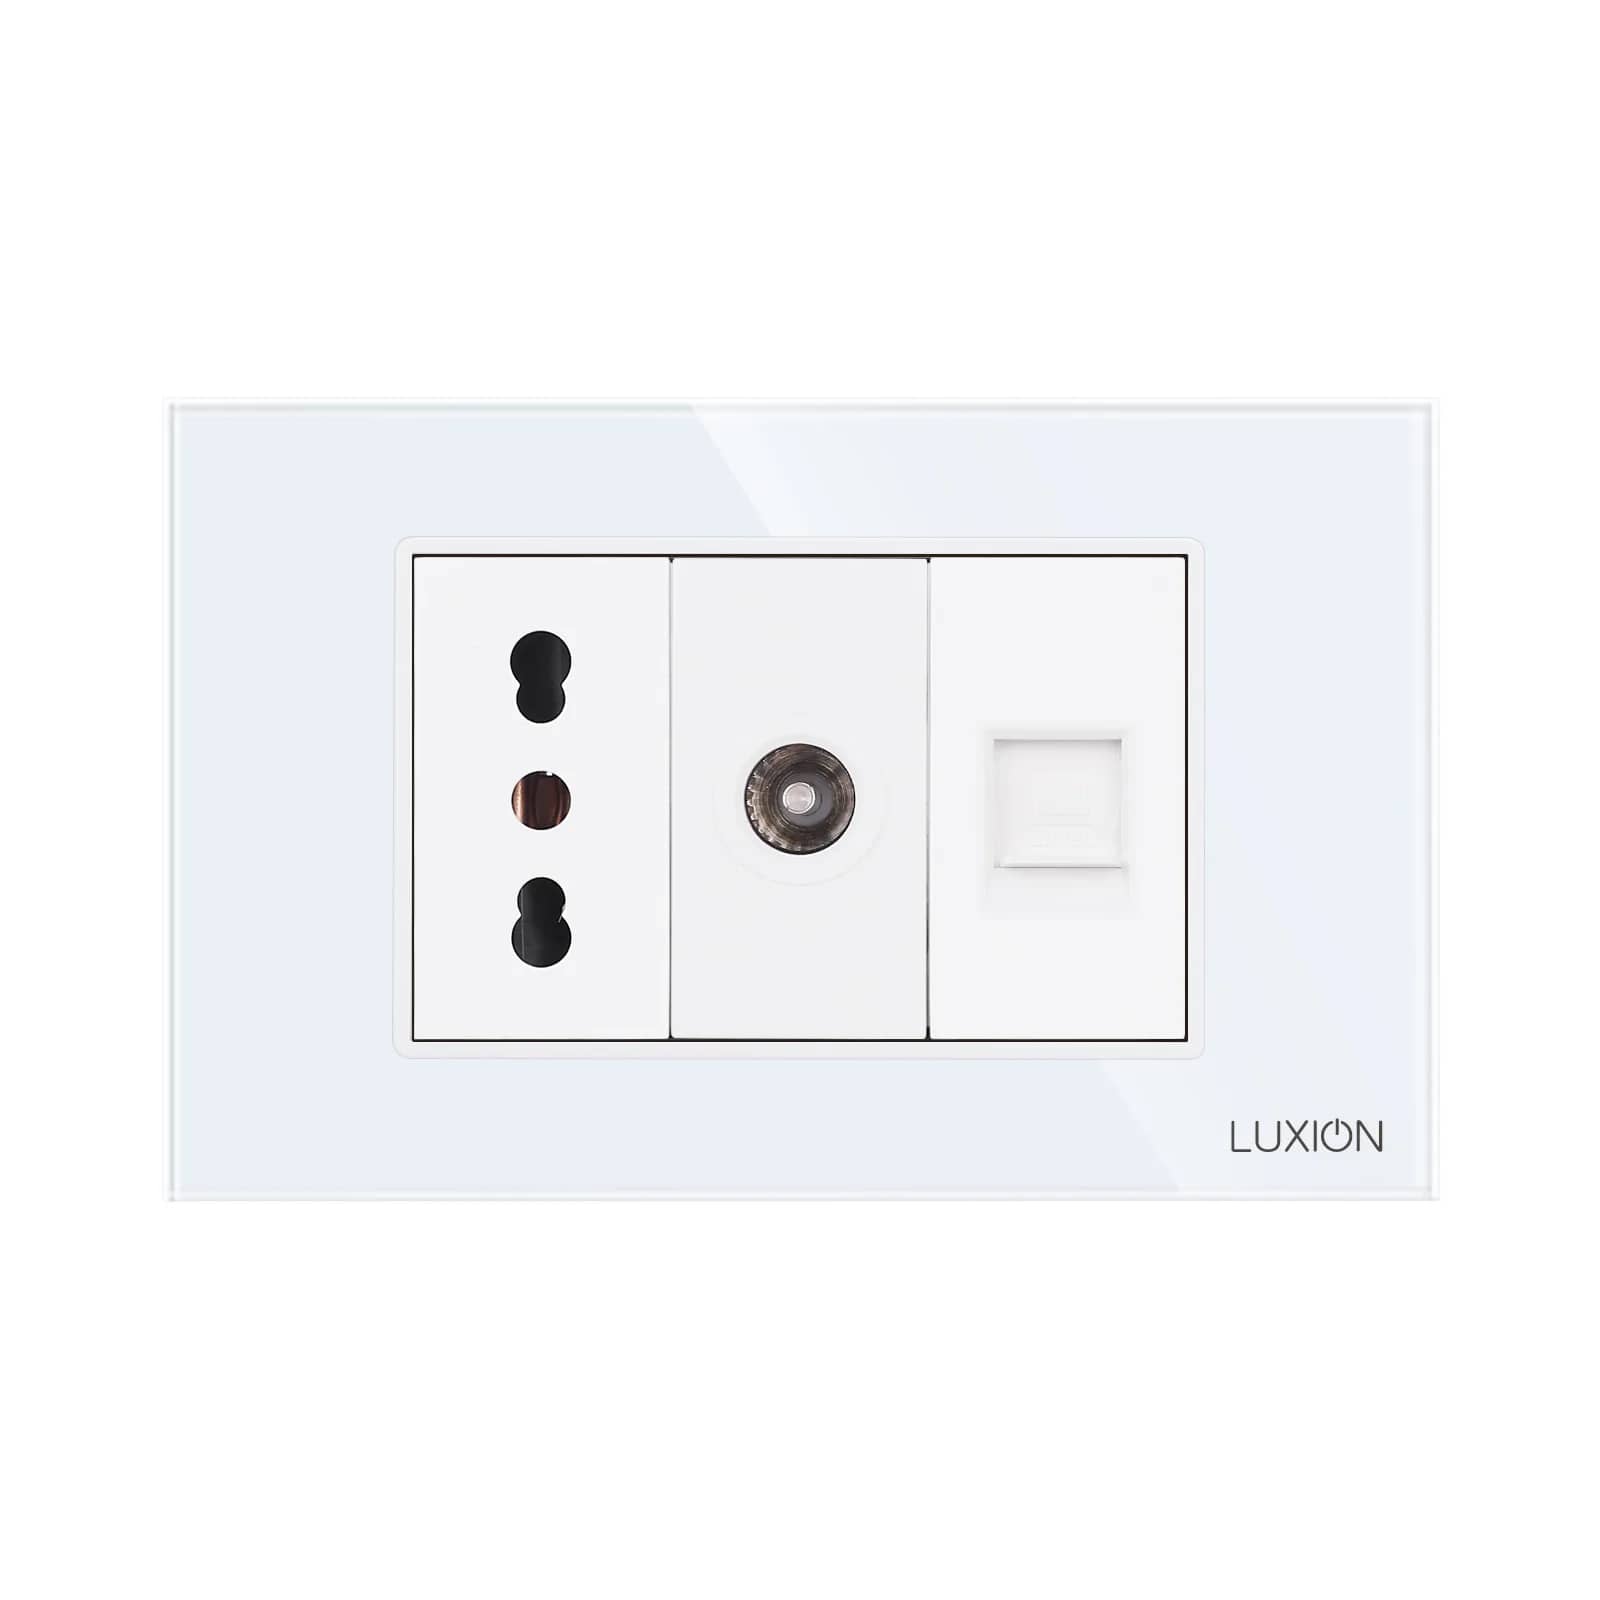
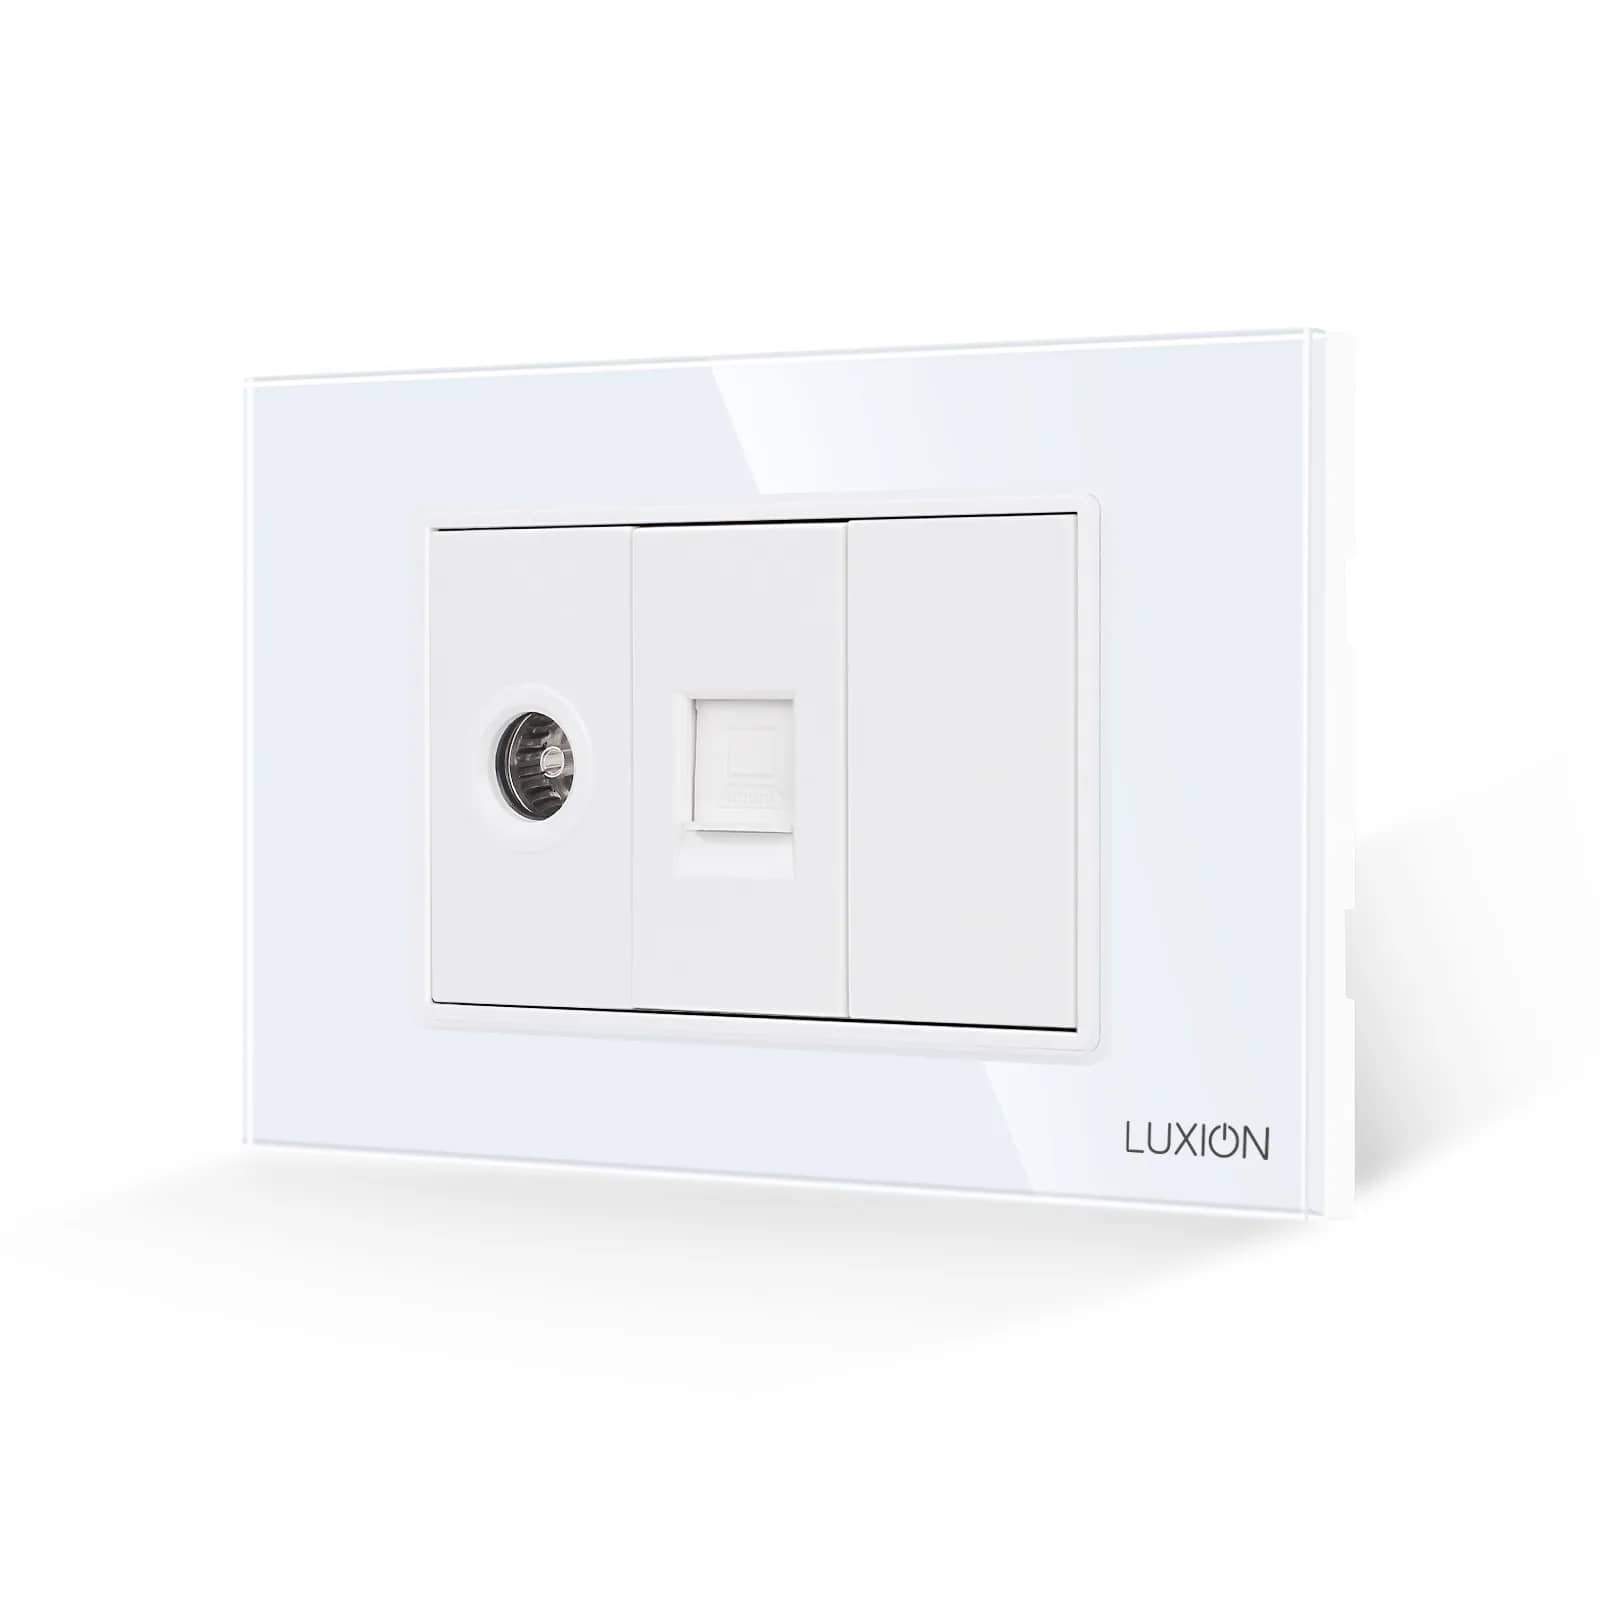
Luxion telephone socket with blank module and elegant glass frame, available in White, Black, Grey and Gold.

Product details

Luxion sockets stand out for their compact, elegant and minimalist design. They are versatile, feature child protection, and their latest-generation technology helps save energy. The structure is durable and the sockets do not discolour over time. This is a practical product, made from quality materials and built to last, bringing utility and comfort to your home.

Highlights

Luxion Telephone Socket + Blank with Glass Frame – Compact, Elegant and Minimalist Design
01

Compact, Elegant and Minimalist Design

Luxion telephone socket with glass frame. Enjoy the versatility of the new Luxion products.

  • Shown in white, black, gold and grey
Luxion Telephone Socket + Blank with Glass Frame – Does Not Discolour
02

Does Not Discolour

The elegant design stays intact.
Luxion Telephone Socket + Blank with Glass Frame – Structure
03

Structure

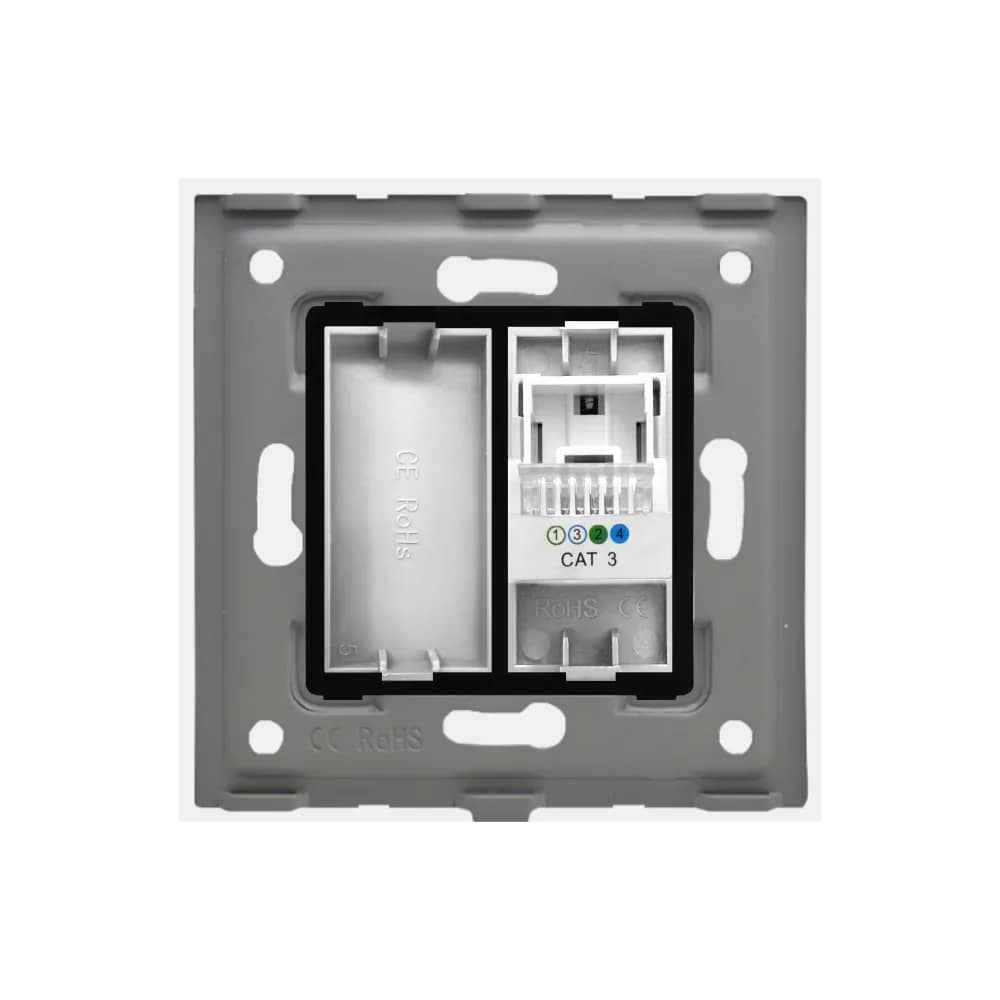
  • Glass frame
  • Telephone socket module + blank
  • Plastic support
  • Metal frame
Luxion Telephone Socket + Blank with Glass Frame – Dimensions
04

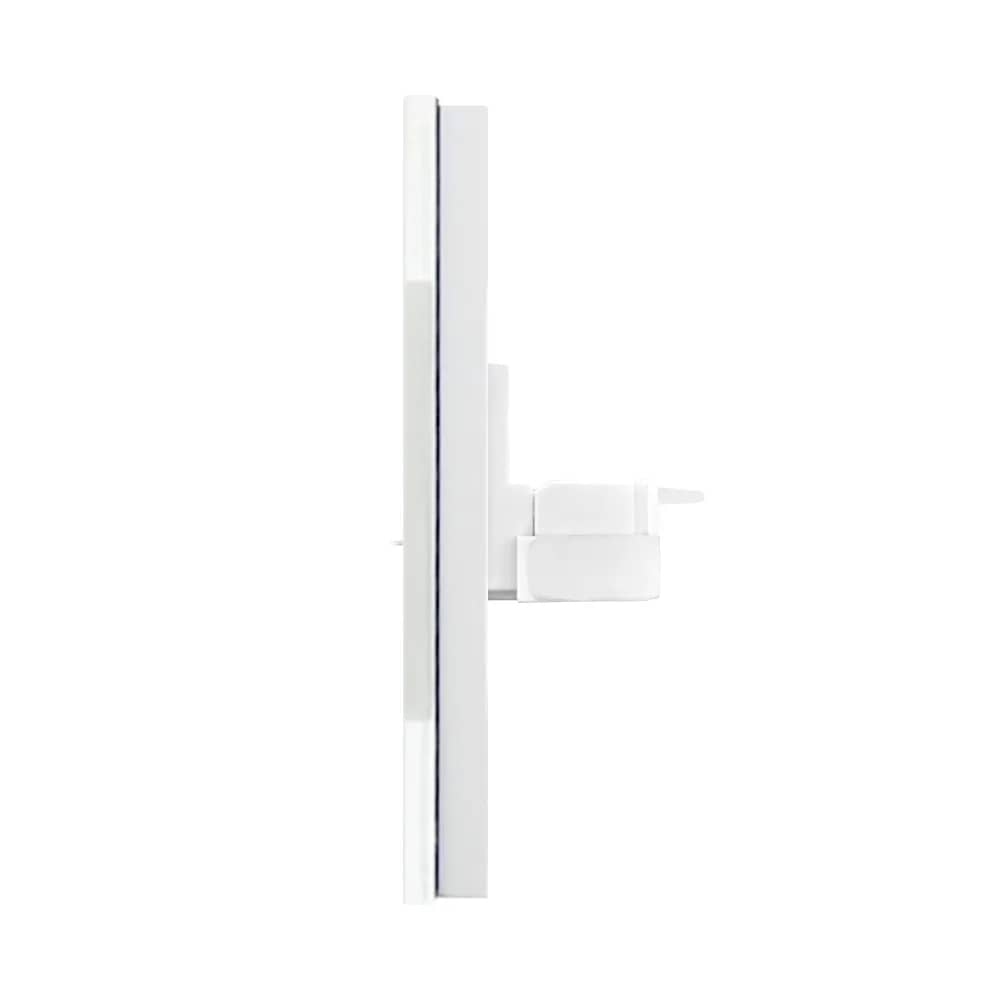
Dimensions

  • Frame: 86 mm x 86 mm
  • Screw fixing distance: 60 mm
  • Depth: 9 mm + 20 mm
  • Glass frame thickness: 4 mm
  • Module marking: CAT 3
Luxion Telephone Socket + Blank with Glass Frame – Installation Diagram
05

Installation Diagram

  • 1. Fix the media sockets onto the plastic support.
  • 2. Position the sockets at the top.
  • 3. Secure the sockets at the bottom.
  • 4. Place the sockets on the metal frame.
  • 5. Position the sockets at the top.
  • 6. Secure the sockets at the bottom.
  • 7. Use the 2 screws to fix the frame.
  • 8. Fit the front panel (click).